Accept Bitcoin Payments on Magento: 4 Easy Steps

Bitcoin, Ethereum, Litecoin, Ripple and other cryptocurrencies are fast becoming a popular choice for e-commerce sites worldwide. Cheaper transactions, non-existent chargebacks, and minimized fraud are primary reasons alone. However another important decision to make when choosing a Bitcoin payment processor is where your crypto revenue is stored: many processors hold your coins in an exchange, similar to PayPal holding your funds until you’re ready to withdraw. Fortunately, Blockonomics skips the middle man and lets you receive coins directly to your wallet — being your own bank.
What you’ll need:
- Magento e-commerce website
- Free account on Blockonomics Wallet Watcher
- Bitcoin wallet — we will use Blockchain.info for this example, but it’s highly recommended that you only temporarily store it there, or store your coins in a safer wallet.
In five simple steps, you’ll be ready to accept Bitcoins and other altcoins on your Magento website.
1. Install the Blockonomics Magento plugin
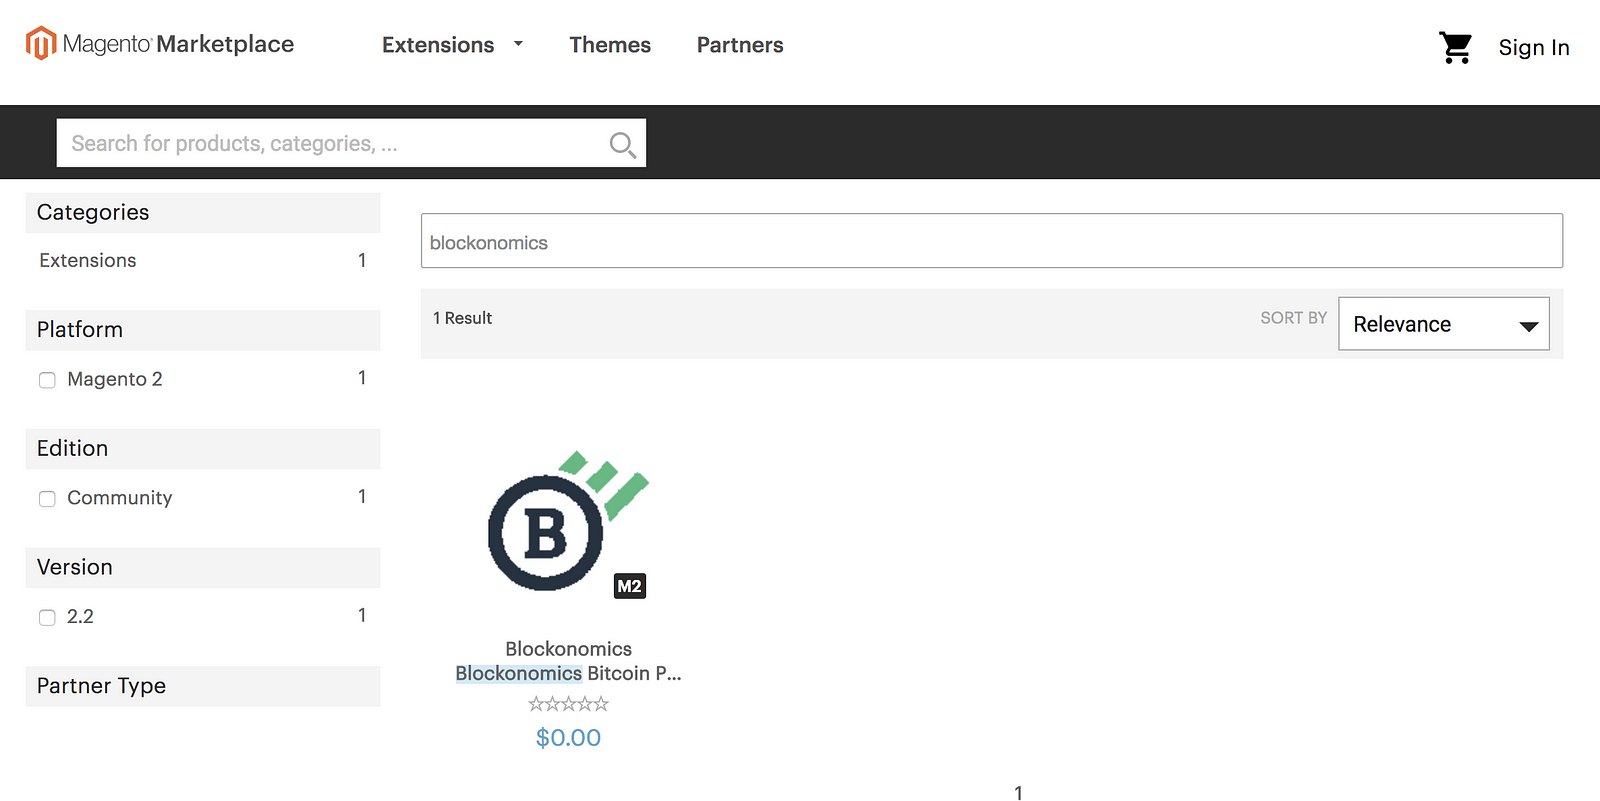
Head to the Magento Marketplace. In the search bar, type Blockonomics, then click on the Blockonomics extension.
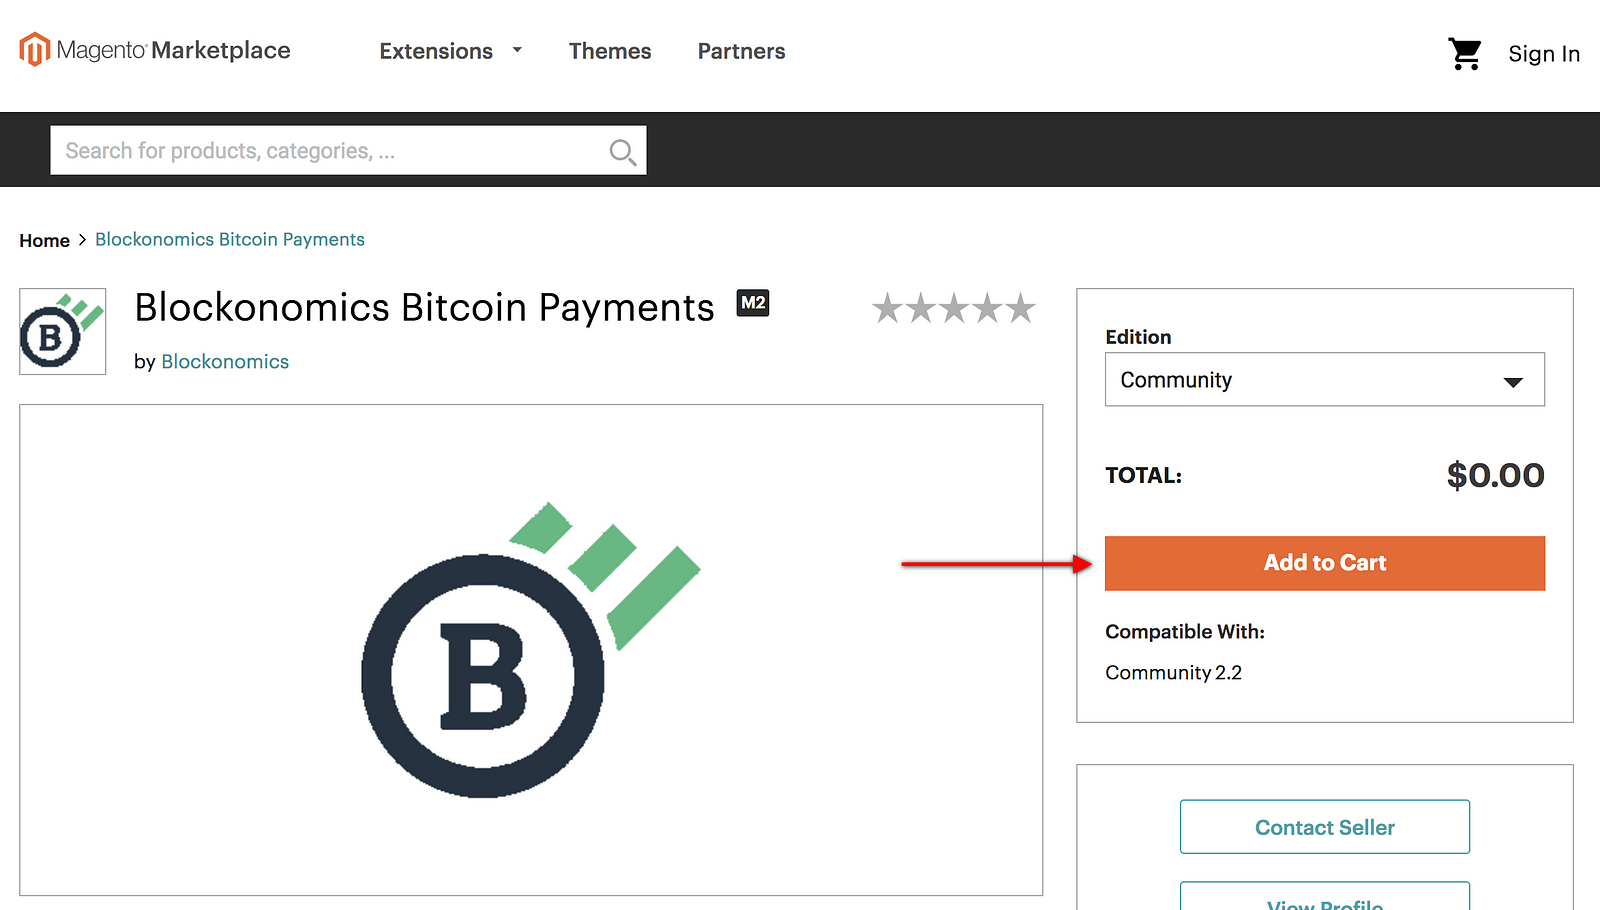
Under Blockonomics Bitcoin Payments, click Add to Cart. By completing the checkout process, you’ll be able to install the plugin directly to your Magento shop via Marketplace. If you need help creating access keys and synchronized them with your Magento shop, you can follow the instructions here.
Next, we’ll install Blockonomics by synchronizing with the Magento Marketplace. Log into your Magento website, then on the left sidebar menu go to System > Web Setup Wizard. Then click System Configuration.

Head to the Extension Manager on the left sidebar. Click Review and Install and check to make sure Blockonomics is in the list. Click Install to begin the installation process.


Blockonomics is now installed on your Magento website!
2. Generate a Blockonomics API key
It’s time to connect your Magento site to Blockonomics’ Wallet Watcher. This free app allows you to monitor your transactions in a simple interface.
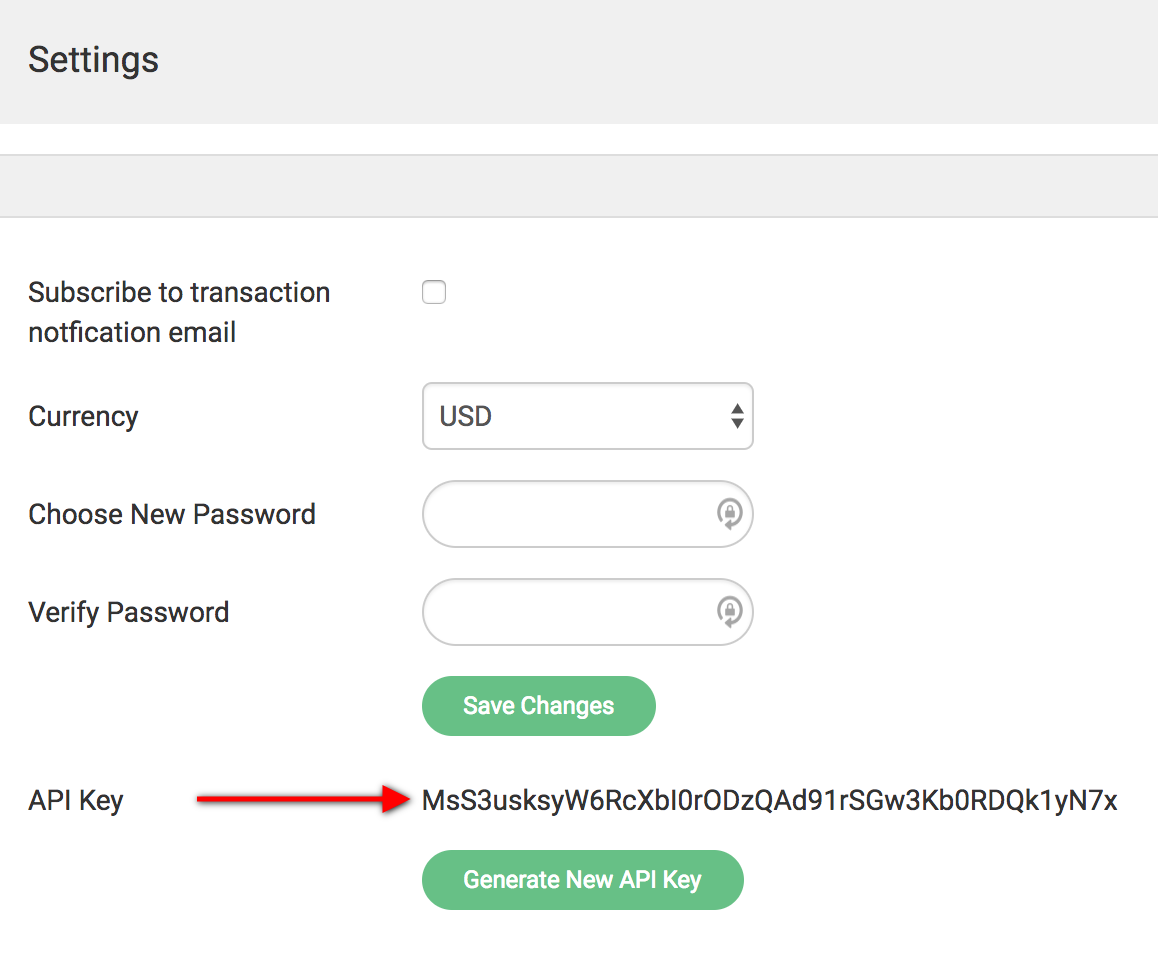
Log in or create an account with the Blockonomics’ Wallet Watcher. After logging in, click Wallet Watcher in the top menu. On the left sidebar, click Settings and click Generate New API Key. Copy the key to your clipboard.
In your Magento admin panel, on the left sidebar, click Stores > Configuration, then click Sales > Payment Methods. Under Other Payment Methods, locate Bitcoin — Blockonomics.

Set Enabled to Yes. Choose a Title — this will be visible in checkout payment methods.
Under API Key, paste the API key you had generated from the Blockonomics’ Wallet Watcher. Then click Save.
3. Synchronize your wallet
It’s time to connect your wallet, which stores all of your Bitcoin, to your Magento site.
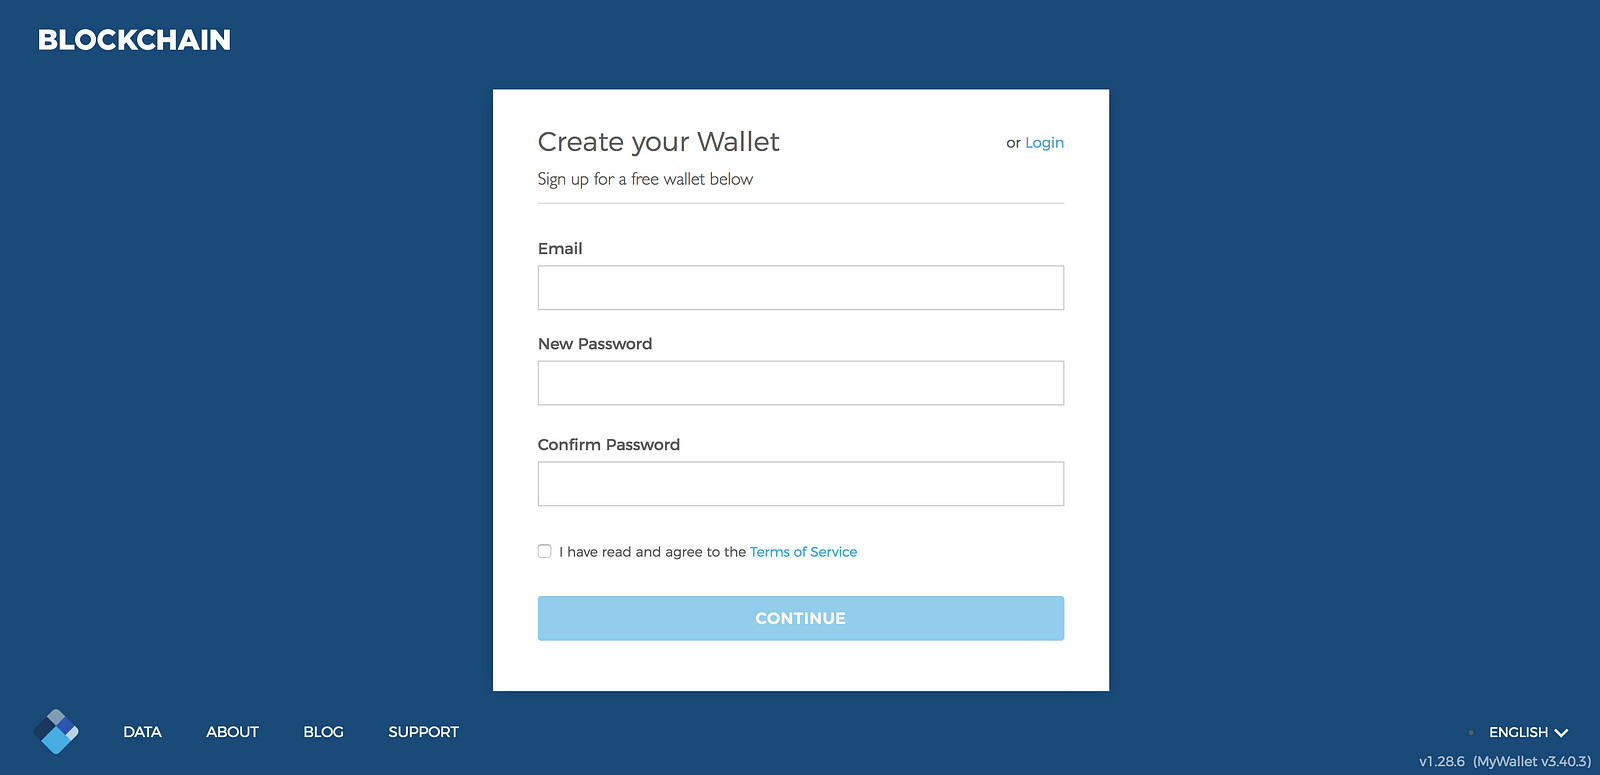
You can either use your own wallet, or you can create a free one at Blockchain.info (which is what we will do in our examples below).
We’ll need to get the Extended Public Address, also known as the xPub. The key will act as your unique identifier that ensures your Bitcoin transactions land in your wallet. From there, you’ll be able to move your Bitcoins to another, more private, wallet, or convert them to real currency (or fiat currency).
After logging into your Blockchain.info account, click on Settings on the left sidebar (we’re seeing a common theme here, aren’t we?). Then click Addresses.
On the right side, click Manage. Then link will reveal a More Options button — after clicking it, lastly click Show xPub.

Your xPub key should be kept secret. Copy it to your clipboard.
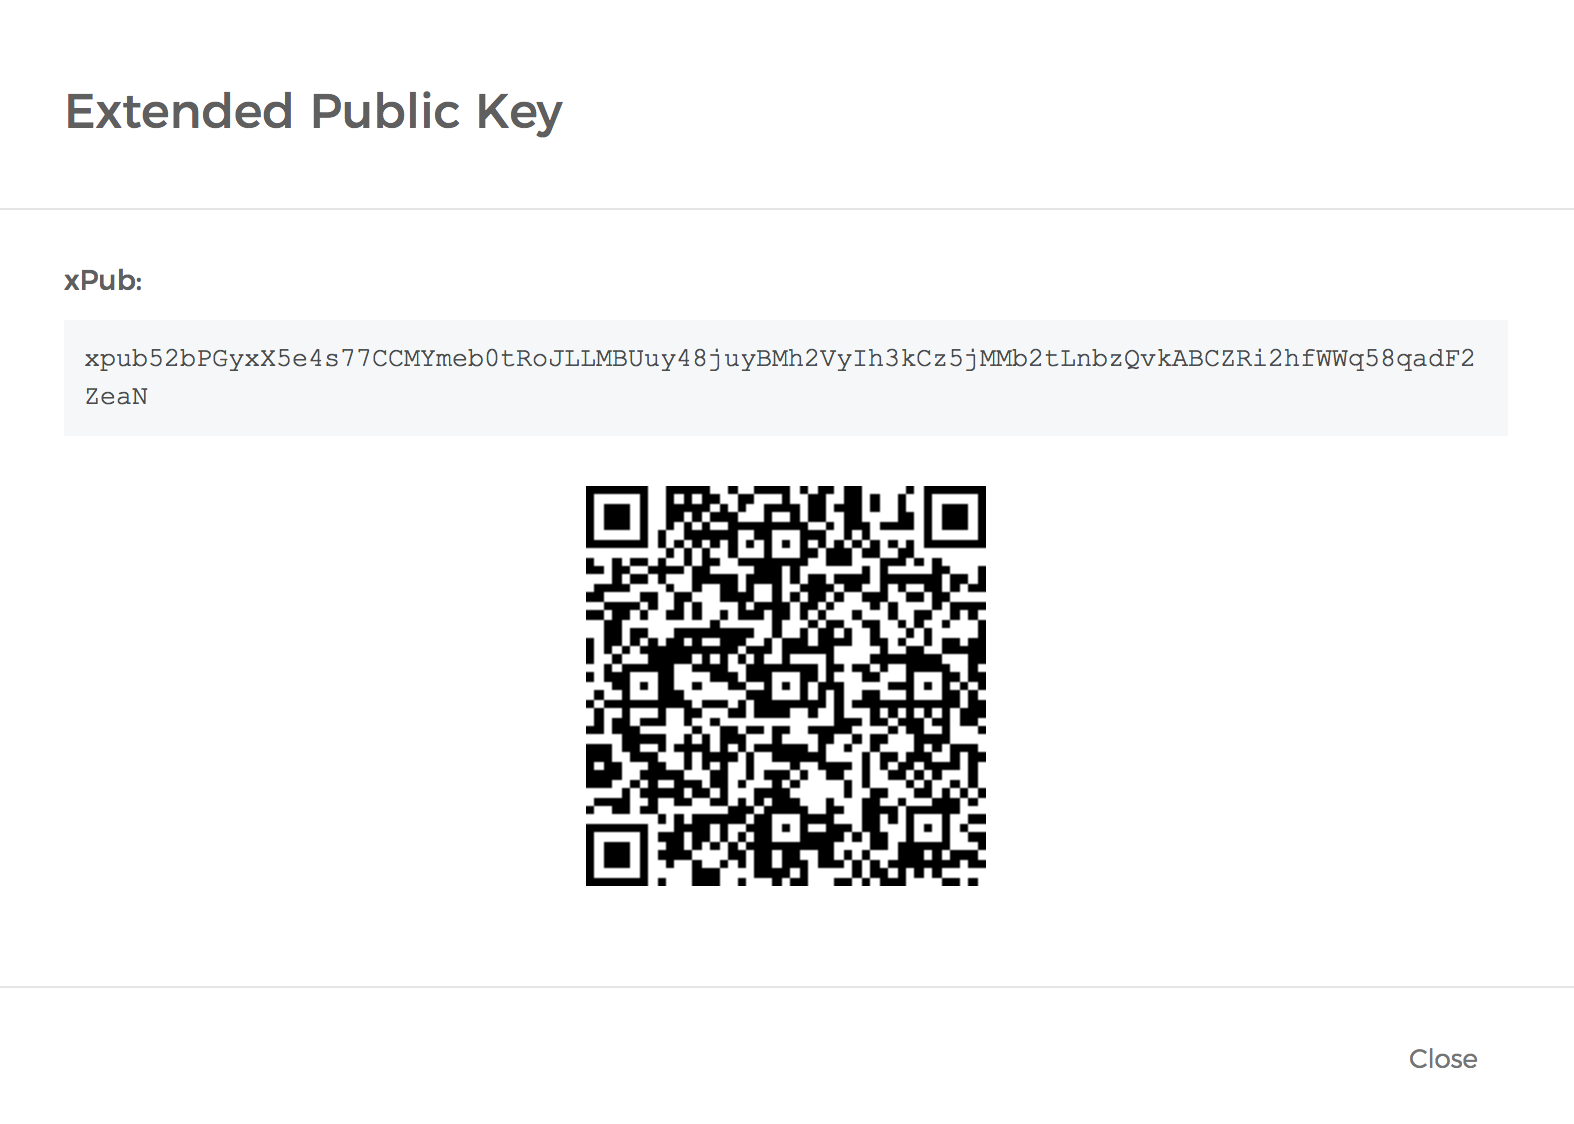
Head back to the Blockonomics Wallet Watcher and log in. Click the Add button, and when the text box appears, paste your xPub address into it. Afterwards, click Add once again.

Rock on! Your xPub key is now tied to your Blockonomics account.
4. Add the callback URL
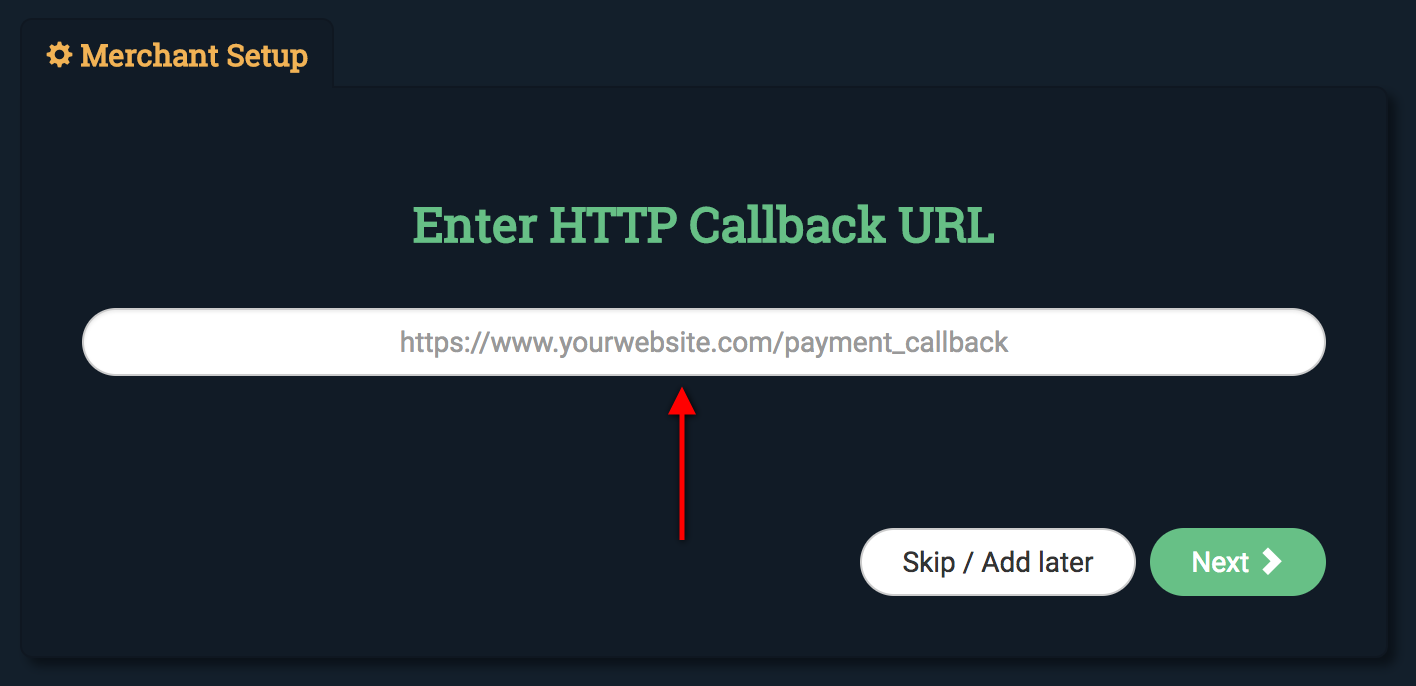
Last step: lets make sure your well-earned transactions become confirmed after each order. In Magento, copy the address next to Callback URL.

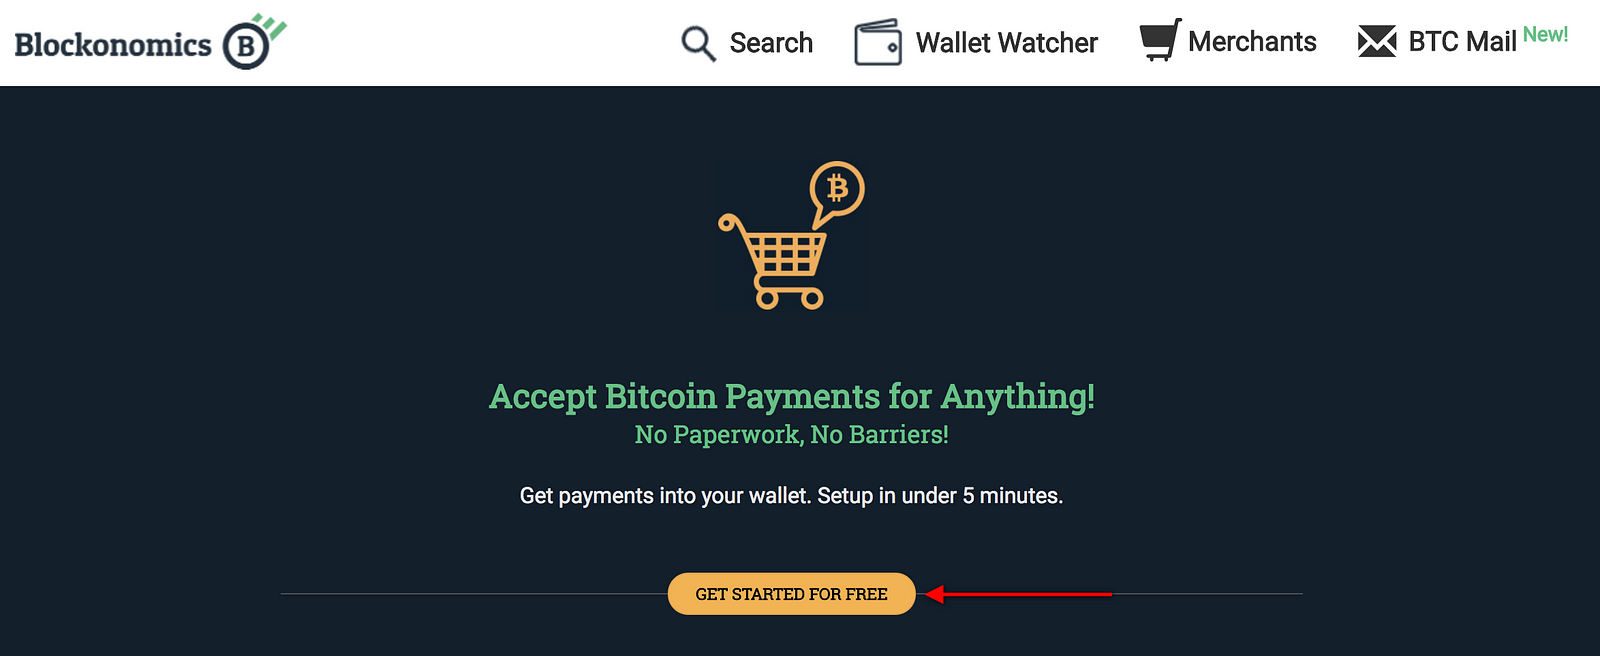
Return to Blockonomics and click on Merchants in the top menu.
Click the Get Started for Free button and read the following prompts.
Paste your callback URL. Click next to finalize it.
That’s it — you’re officially ready to accept Bitcoins on your Magento site. Feel free to do a test transactions on your front-end. Each purchase made on your site will send your Bitcoins to your wallet of choice.
Congratulations and good luck!


Comments ()