
Accept Bitcoin for NordVPN on WHMCS with Blockonomics: A Step-by-Step Guide
Learn how to sell NordVPN subscriptions for Bitcoin using Blockonomics. This is a step-by-step guide walks you through the setup process
Selling NordVPN subscriptions for Bitcoin is a great way to tap into the growing demand for online privacy and crypto-friendly payments. With Blockonomics, you can easily accept Bitcoin transactions, giving your customers a secure and anonymous way to pay. In this step-by-step tutorial, we’ll walk you through everything you need to know—from setting up Blockonomics to integrating it with your sales process.
Here's a video breaking down this process in detail:
Table of Contents
- Getting Started with Blockonomics
- Setting Up Your Wallet
- Downloading and Installing the WHMCS Integration
- Uploading the Plugin to Your WHMCS Directory
- Activating the Blockonomics Plugin
- Configuring Your Blockonomics Settings
- Activating NordVPN in WHMCS
- Testing Your Setup
- Performing Test Payment Verification
- Advantages of Using Blockonomics
- Frequently Asked Questions (FAQ)
- Stay Connected
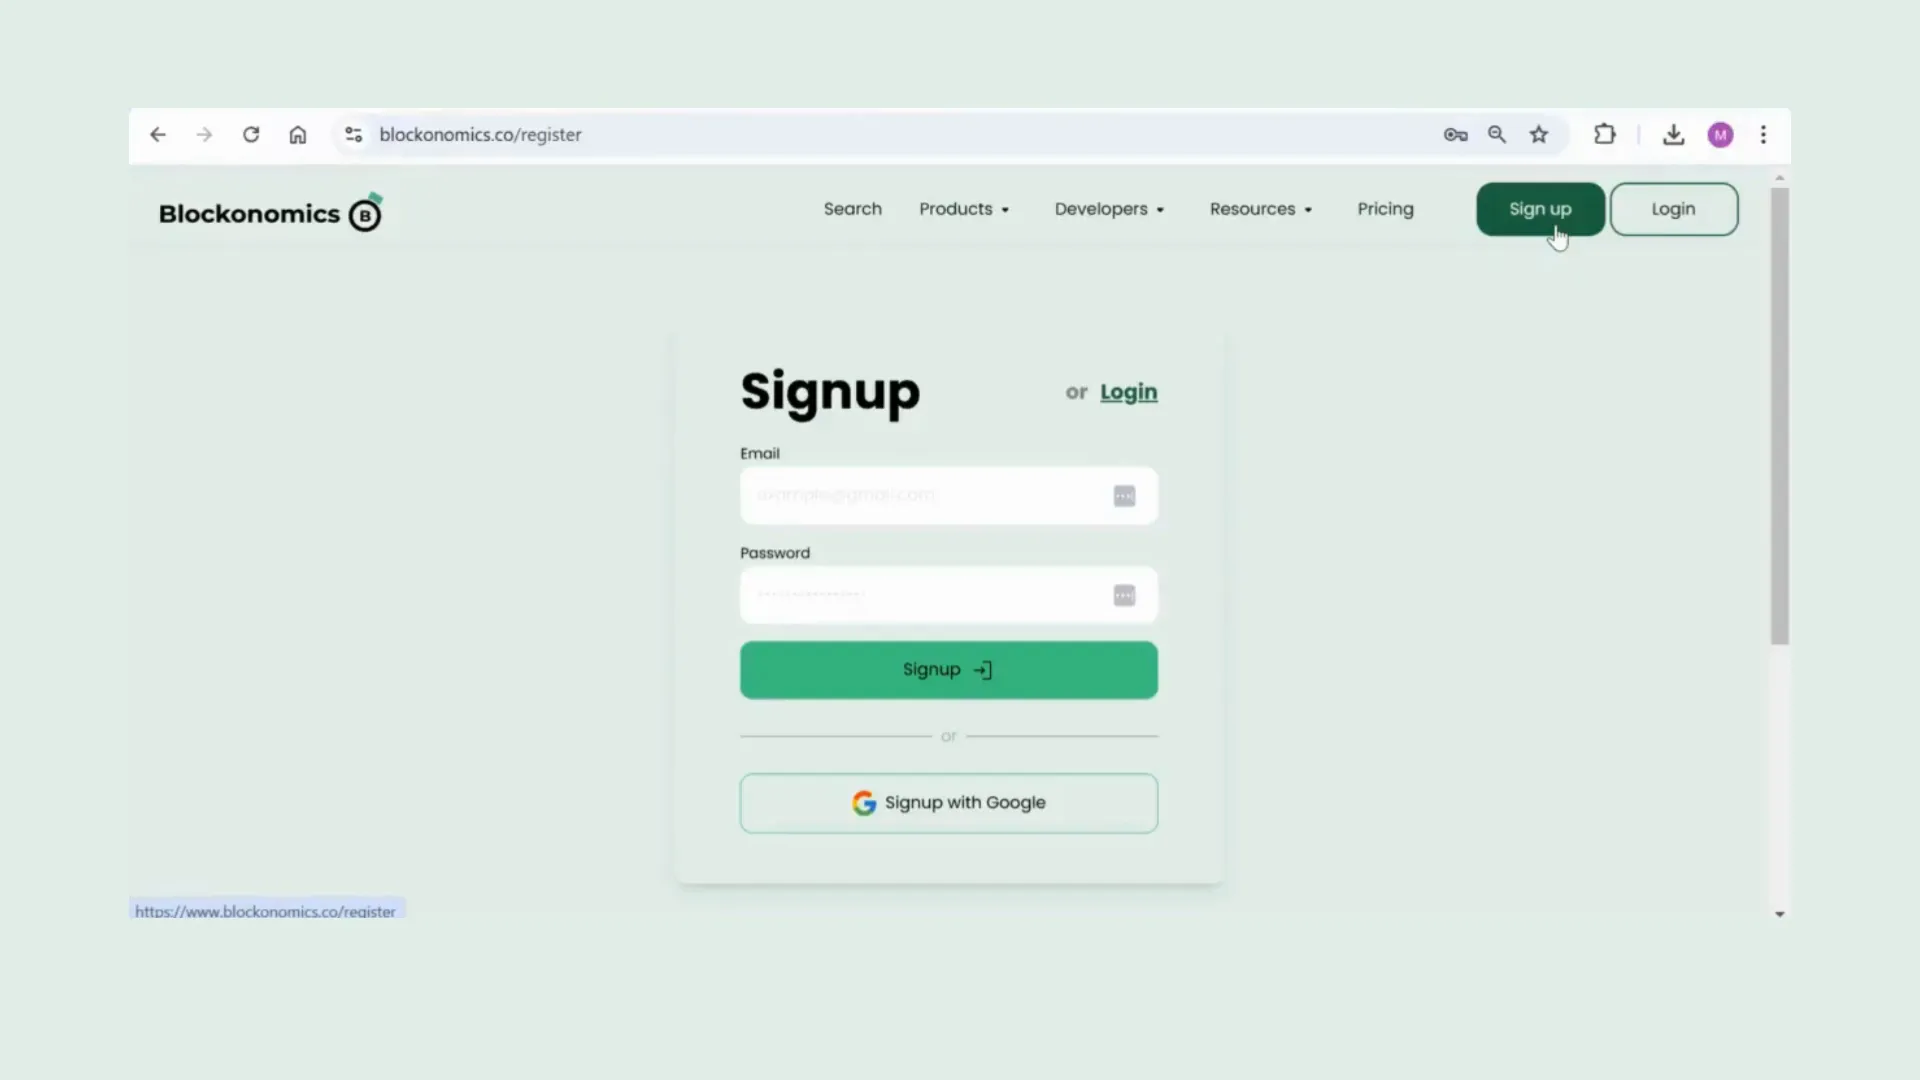
Getting Started with Blockonomics
To begin, head over to the Blockonomics website and sign up for an account. The process is simple. You can either create an account using your email and a password or sign up using your Google account. Once you've signed up, you’re ready to add your wallet.
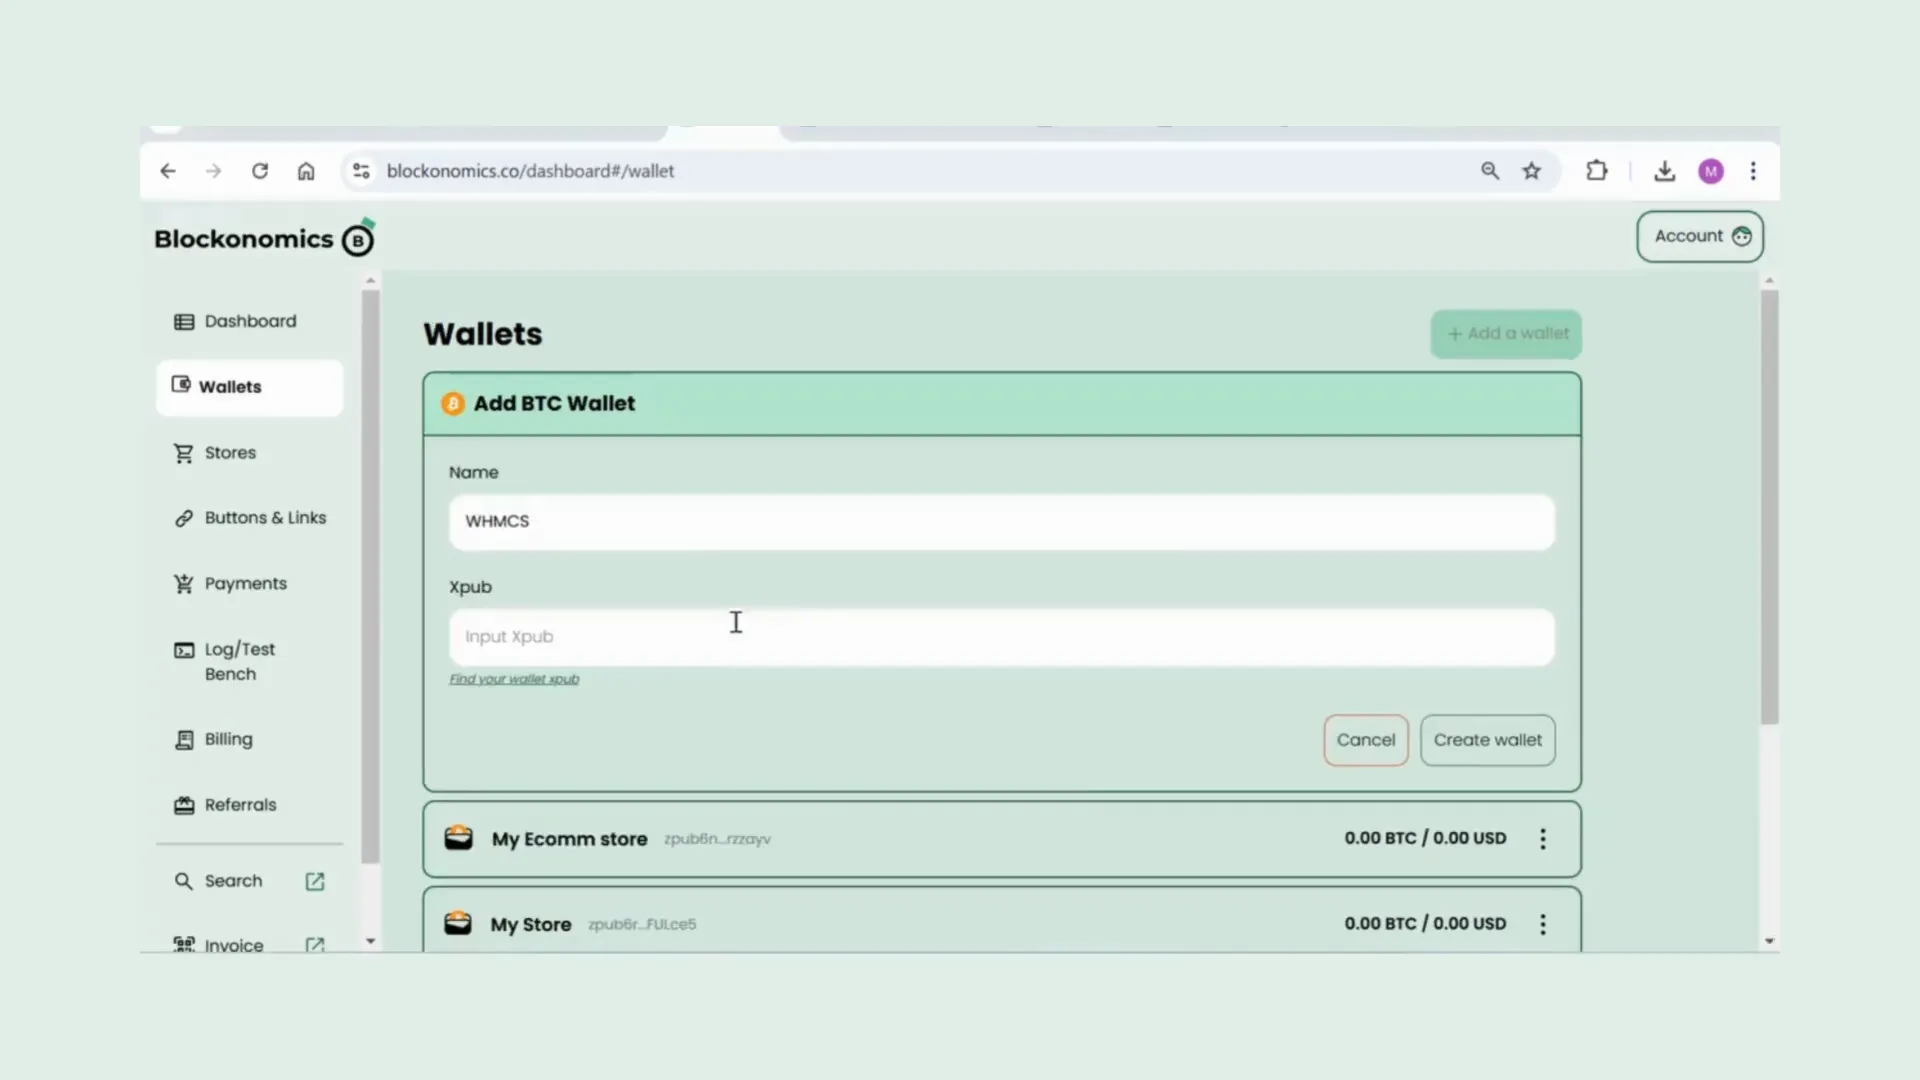
Setting Up Your Wallet
After creating your account, the next step is to set up your wallet. Navigate to your Blockonomics dashboard, click on 'Wallet', and then select 'Add a Wallet' and proceed to fill out the required information. Here's a video hat will help you find your Xpub.
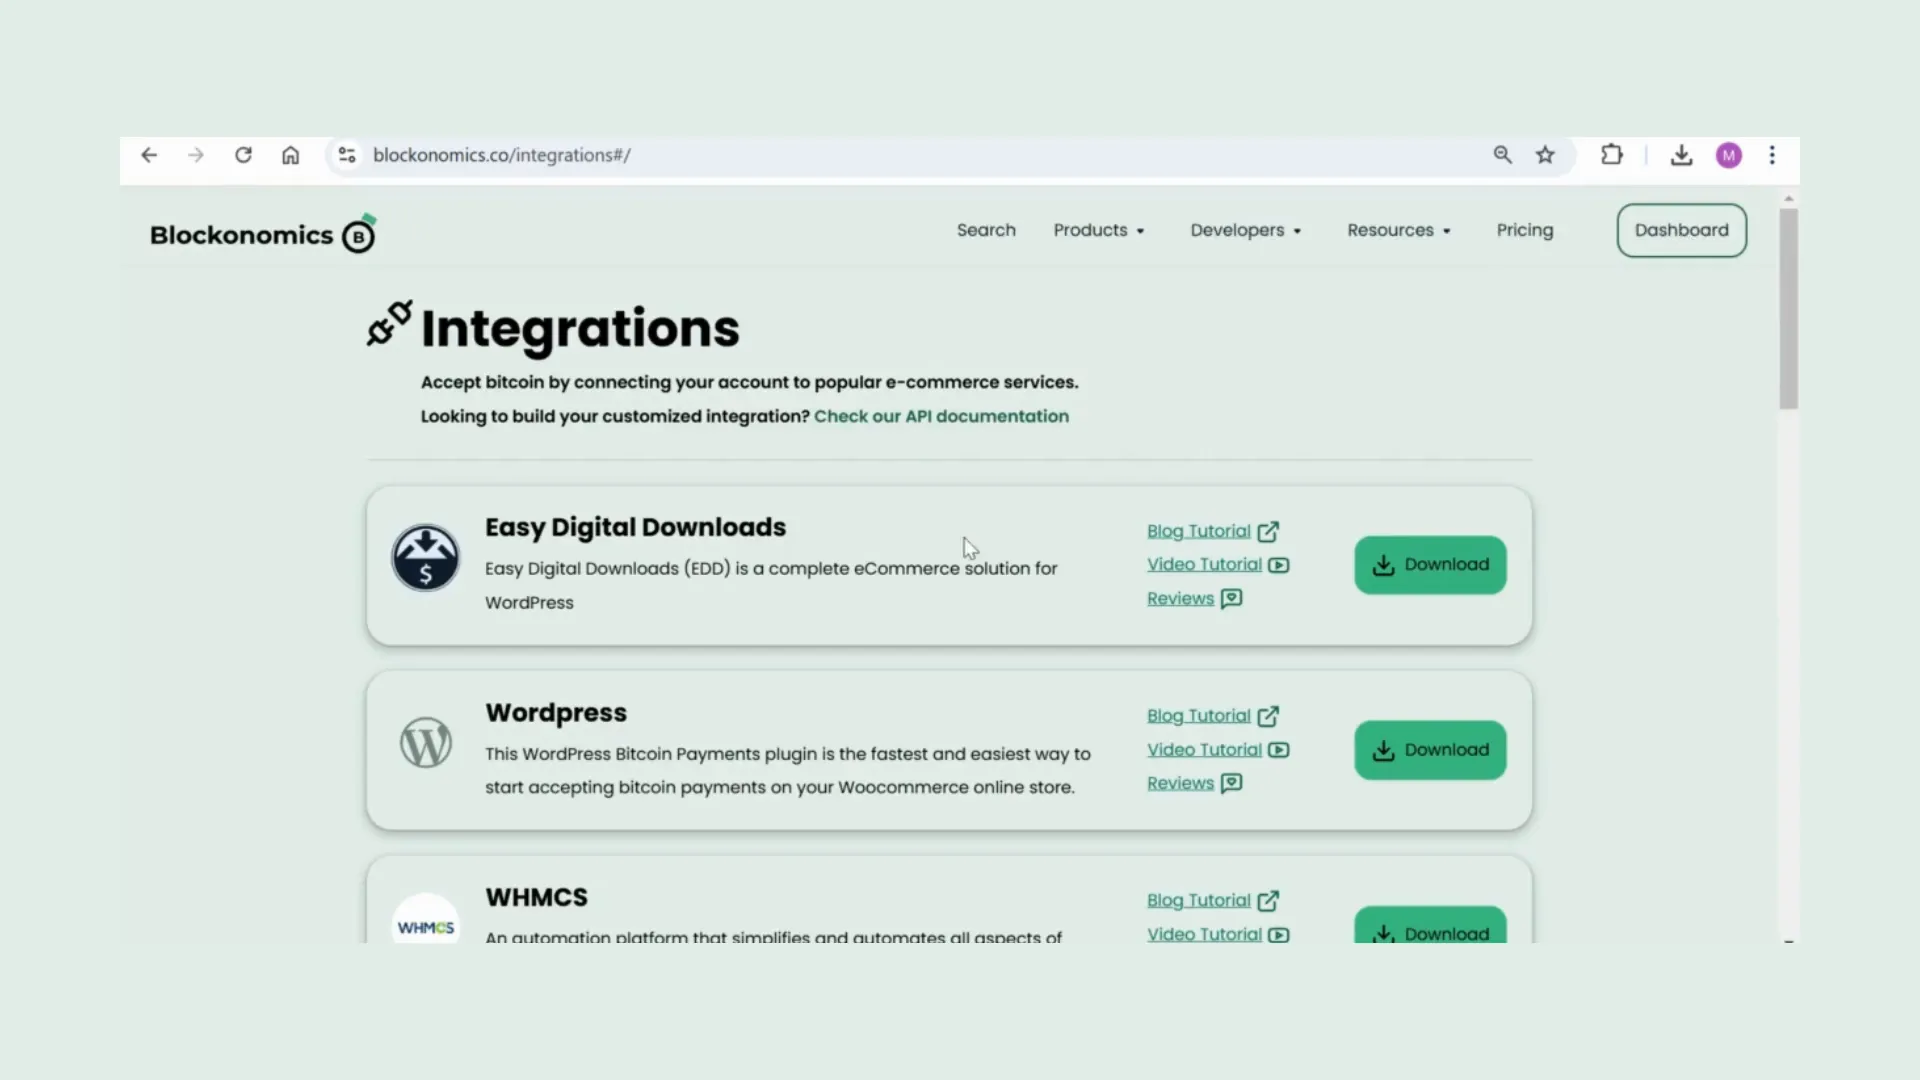
Downloading and Installing the WHMCS Integration
Next, we need to integrate Blockonomics with WHMCS. Head to the Blockonomics resources menu and select 'E-commerce Integration'. Scroll down until you find the WHMCS integration and click the download button. This will redirect you to the Blockonomics page on the WHMCS marketplace where you can click 'Get it Now' to download the zip file.
Uploading the Plugin to Your WHMCS Directory
Once you’ve downloaded the zip file, unzip it. Open your FTP client, such as FileZilla, and connect to your WHMCS directory by entering your host, username, password, and port. In your downloads, locate the Blockonomics plugin folder, open it, and find the 'modules' folder. Copy the 'modules' folder to your root WHMCS directory. Once the files are transferred, you're all set!
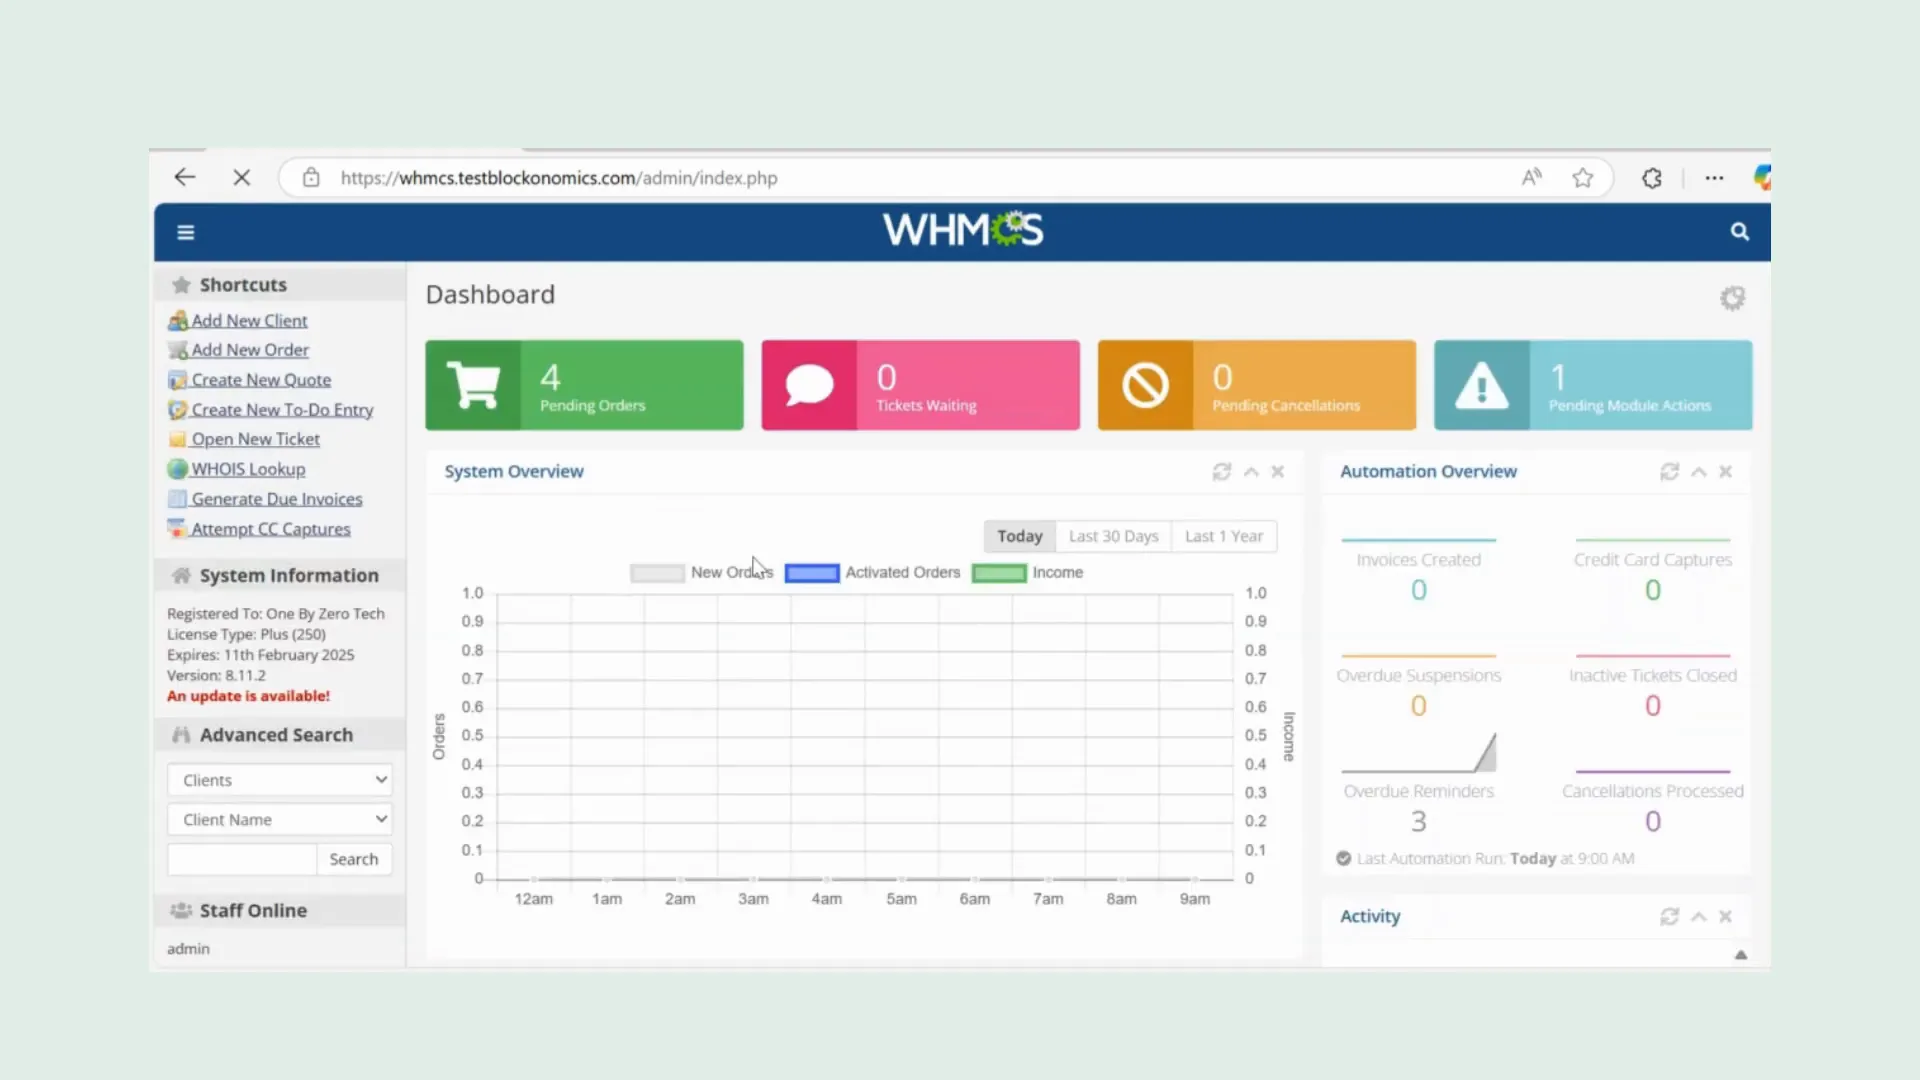
Activating the Blockonomics Plugin
Now that the plugin is uploaded, log into your WHMCS account. Click on the menu and navigate to 'Add-ons', then select 'Apps and Integrations'. Click 'Browse' under payments and search for Blockonomics. Once you find it, click on Blockonomics and hit 'Activate'. This will take you to the Blockonomics configuration page.
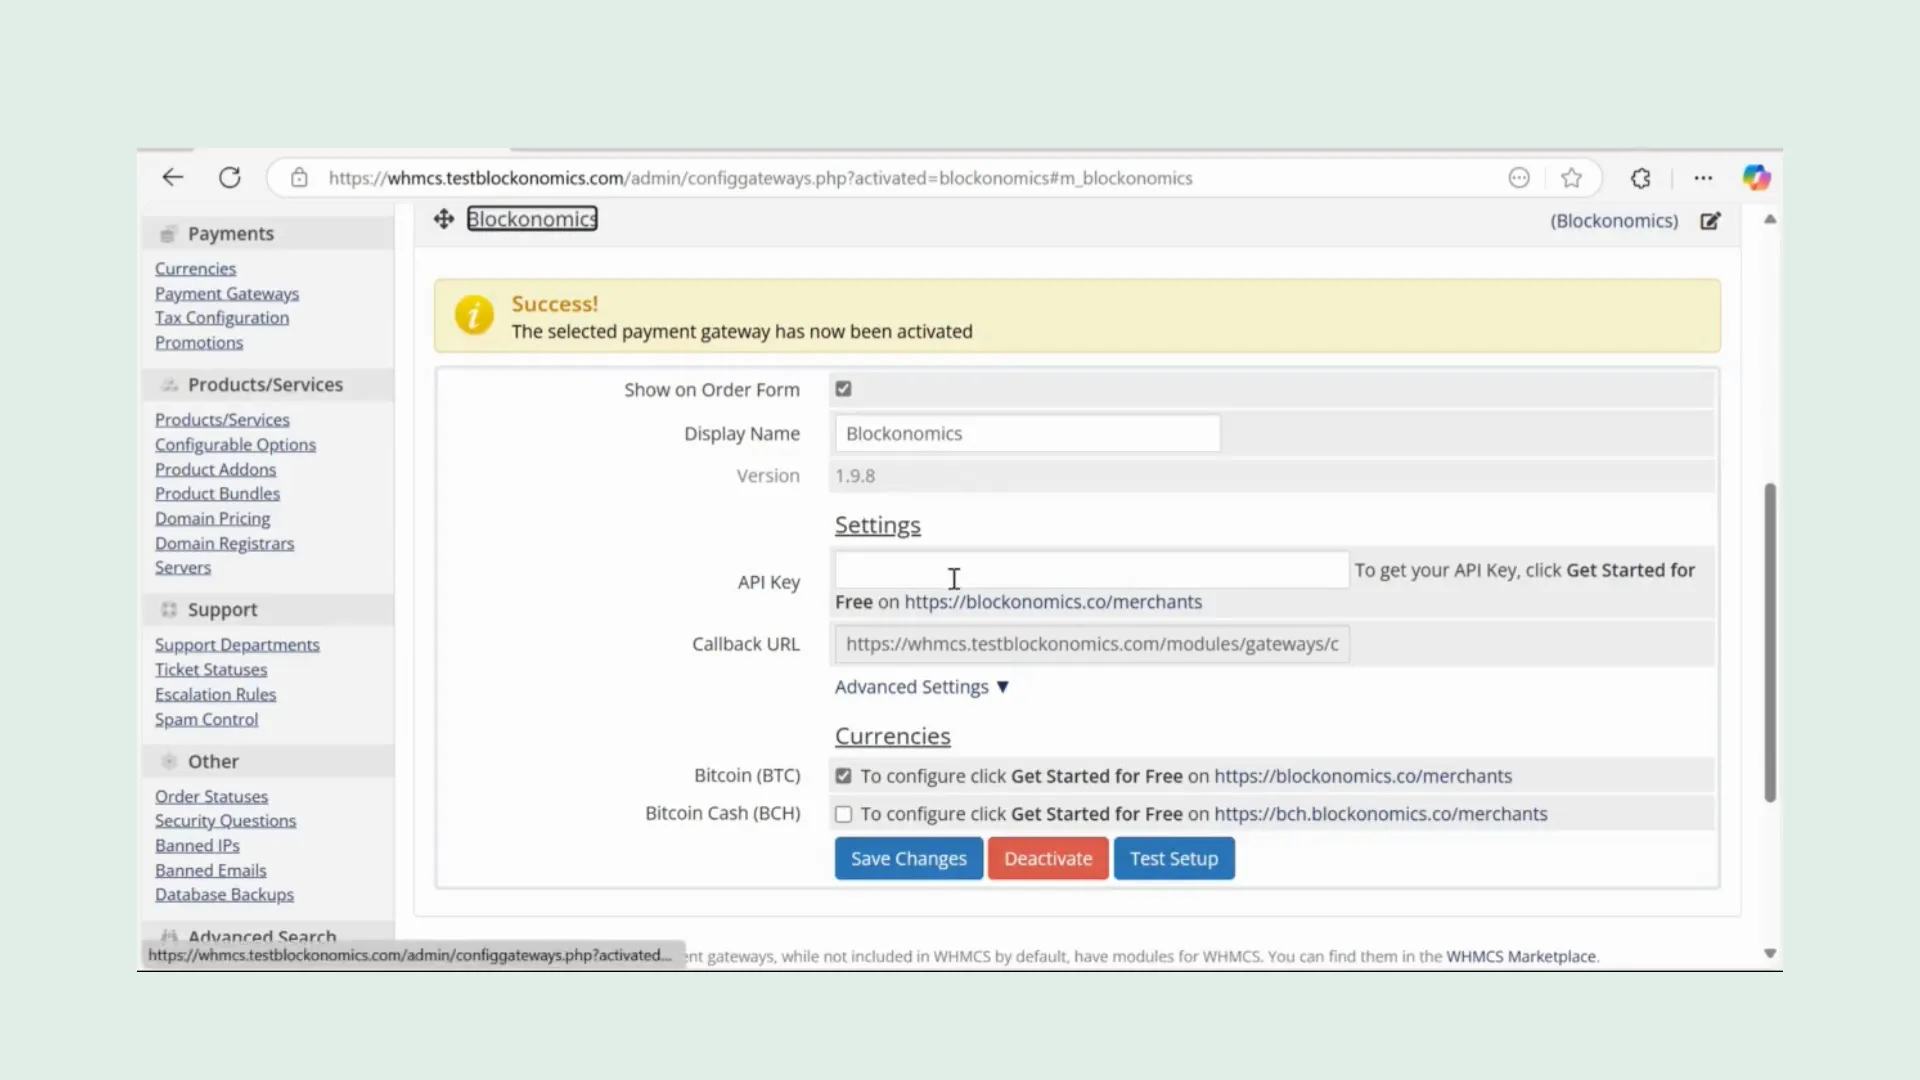
Configuring Your Blockonomics Settings
On the configuration page, you need to grab your API key. Head back to your Blockonomics dashboard, click on 'Stores', and copy the API key. Paste it into the configuration page in WHMCS. Next, create a store and name it. Copy the Callback URL from the WHMCS page you were on and paste it into the store settings on Blockonomics.
Once you’ve done that, toggle the button under 'Payment Method' and choose your destination wallet. Hit 'Add Store'. If you want to set advanced settings like wait time, adding margin, or allowing underpayments, you can do that here. You can even choose to accept Bitcoin Cash (BCH) if needed. For now, I’ll save the changes without any advanced settings.
Activating NordVPN in WHMCS
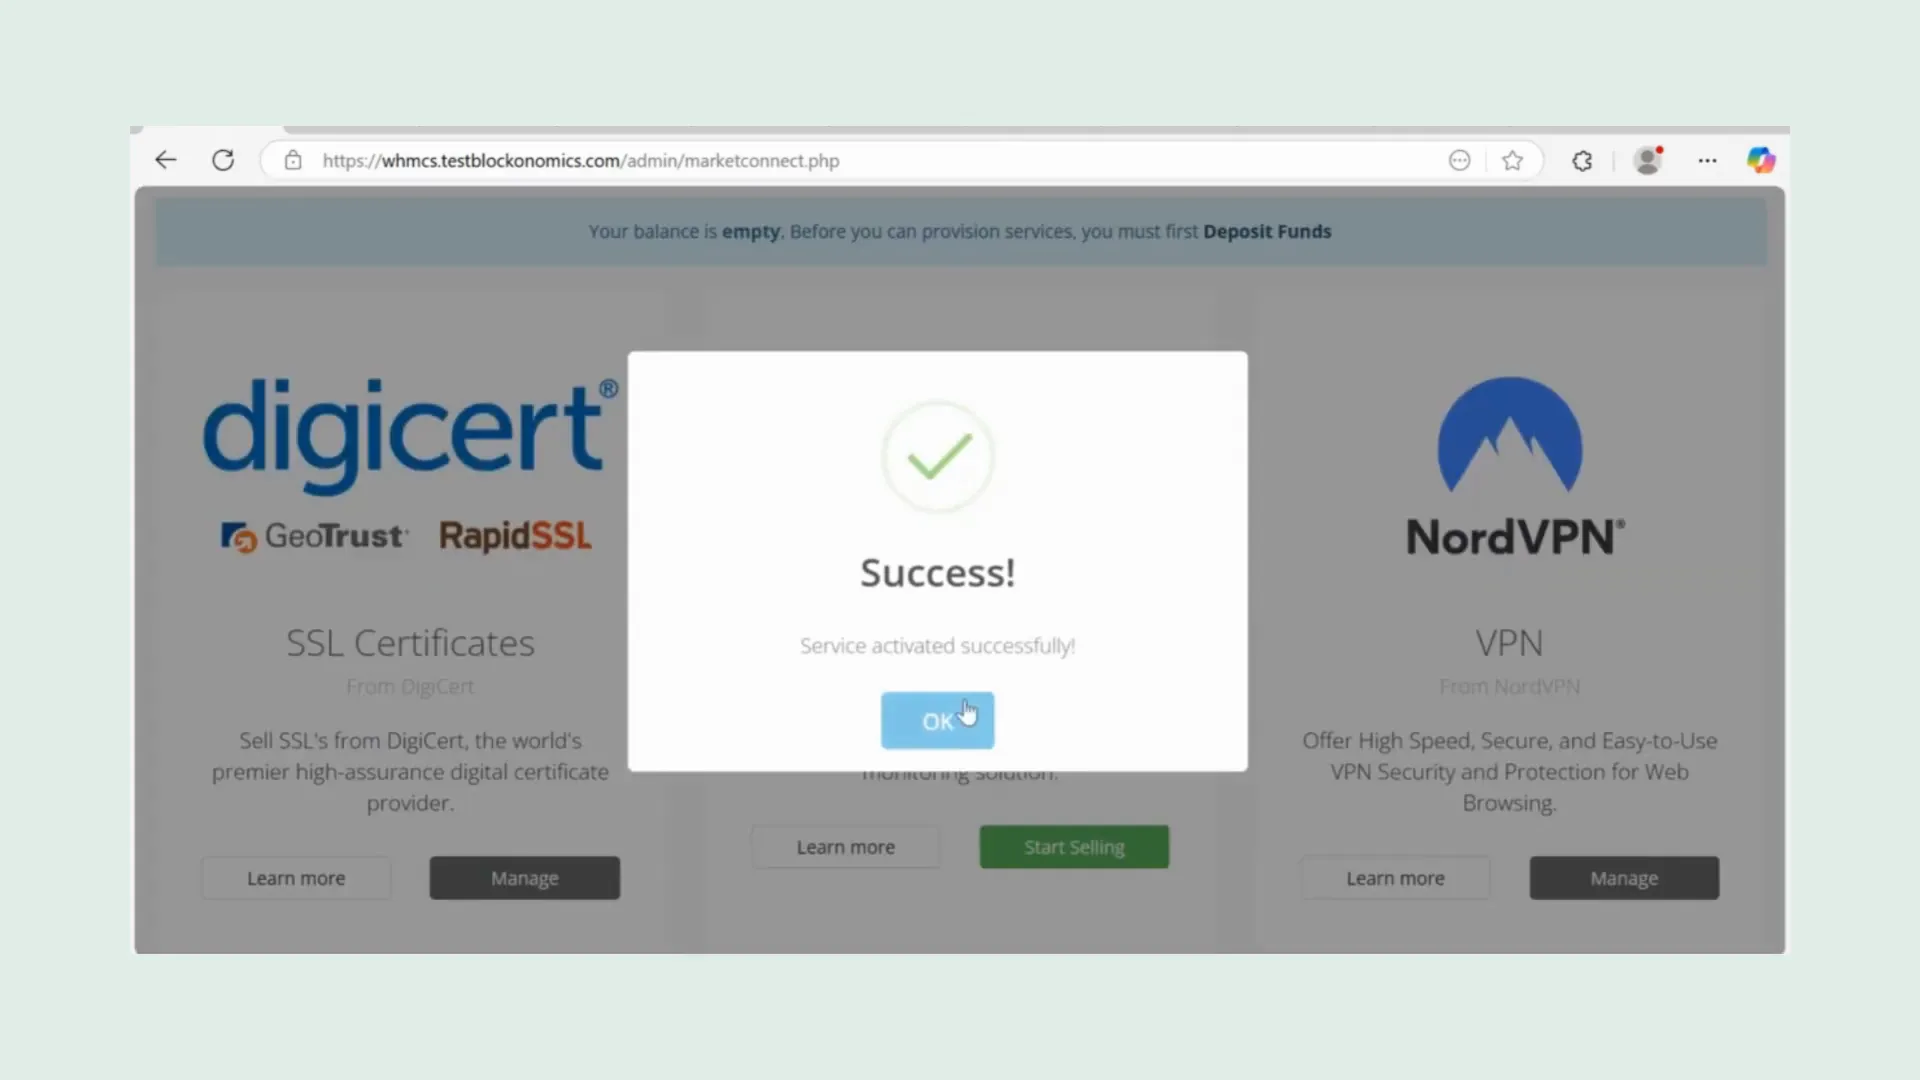
With everything configured, let’s activate NordVPN in WHMCS. Go to the menu, click on 'Configuration', then select 'System Settings'. Scroll down and click on 'Market Connect'. Here, you’ll see NordVPN; click on 'Start Selling' and then hit 'Activate'. You should see a success message confirming that it’s all set.
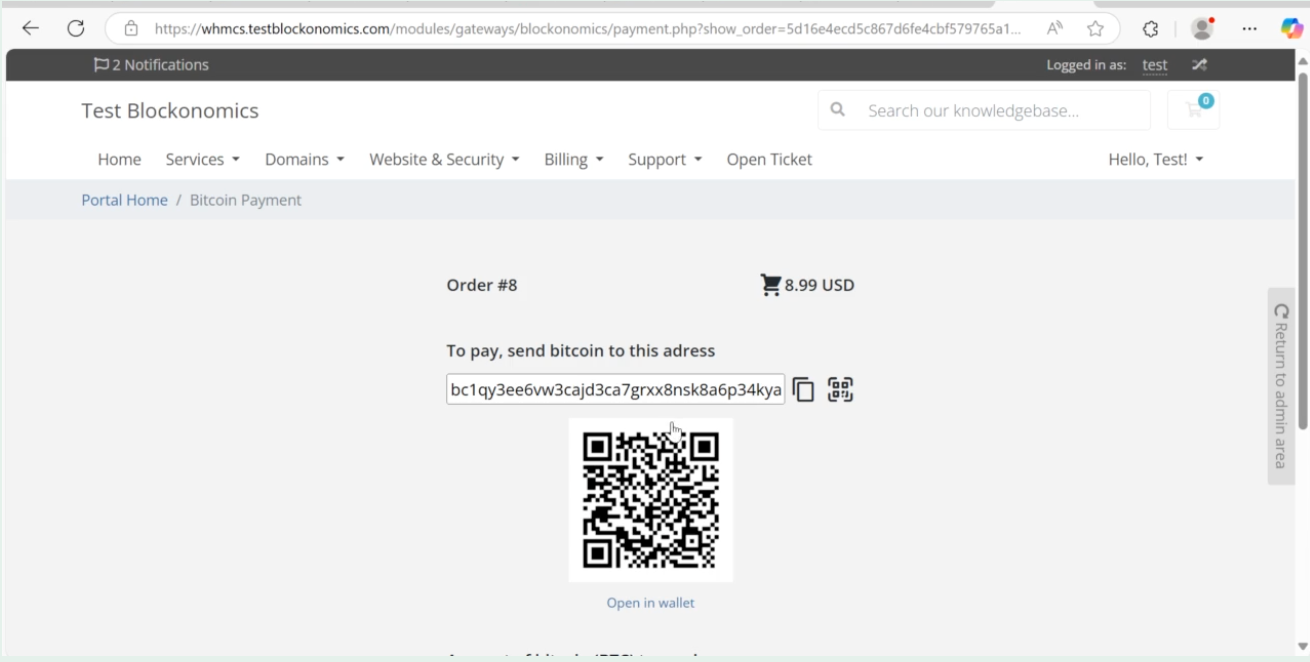
Testing Your Setup
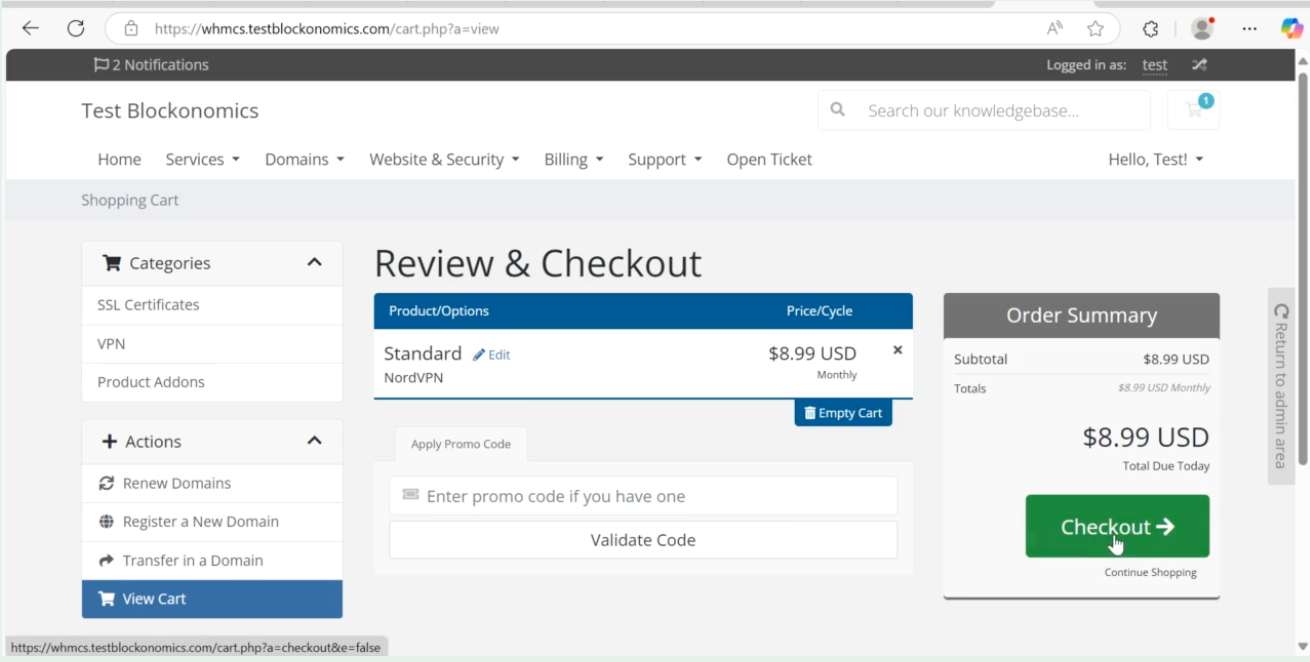
Now that NordVPN is activated, let’s check how it looks on your site and perform a test payment. Navigate to your site and under 'Store', you should see the VPN option. Log in as a customer and add NordVPN to your cart. Once it’s added, proceed to checkout. You should see the Bitcoin address, the amount, and a handy QR code for payment.
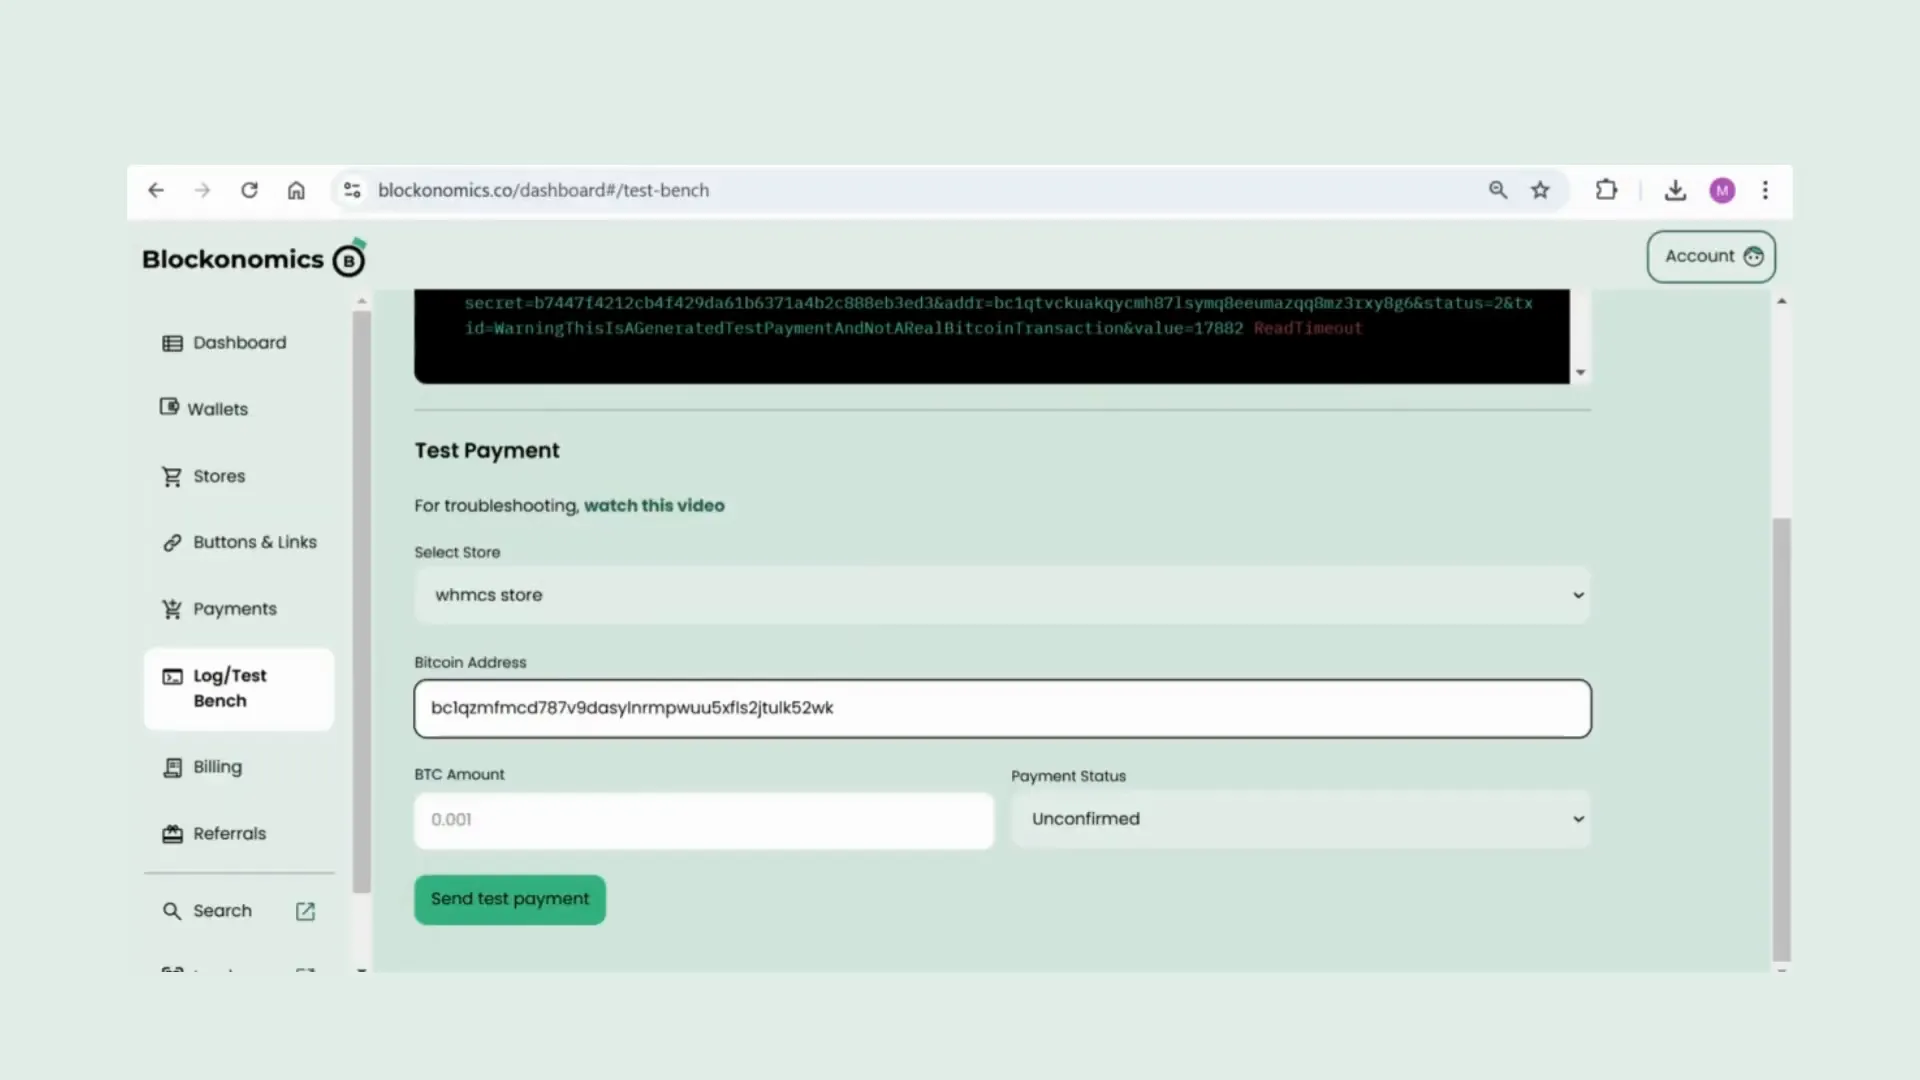
Performing Test Payment Verification
To ensure everything works, let’s perform a test payment. Head back to your Blockonomics dashboard, click on 'Log or Test Bench', choose the store, paste the BTC address and the amount, set the payment status to confirmed, and hit 'Send Test Payment'. Voila! The payment should go through successfully, and you’ll find this detail in your WHMCS orders.
Frequently Asked Questions (FAQ)
How long does it take to set up Blockonomics with WHMCS?
The setup process can be completed in less than an hour if you follow the steps outlined in this guide.
Can I accept other cryptocurrencies aside from Bitcoin?
Yes, Blockonomics allows you to accept Bitcoin Cash (BCH) and USDT.
Is customer support available?
Absolutely! Blockonomics offers 24/7 customer support to assist you with any queries or issues you may face.
Where can I find more integrations supported by Blockonomics?
You can check out various e-commerce integrations supported by Blockonomics by visiting their Integrations page.
How can I learn more about accepting Bitcoin payments on WHMCS?
For more detailed insights, you can read our guide on How to accept bitcoin payments on WHMCS: 4 simple steps!.
Stay Connected
For updates and more tips, follow us on X and check out our LinkedIn page.
![5 Best VPNs that Accept Bitcoin [2022]](/content/images/size/w720/max/800/1-167hAHiooDBNBzSLOdlLeg.png)
Comments ()