
How to Accept Bitcoin Payments on Your WHMCS Store in Just 5 Minutes!
Want to accept Bitcoin on your WHMCS store? With Blockonomics, you can integrate Bitcoin payments in just 5 minutes! This quick guide walks you through the setup process, making it easy to offer secure, seamless crypto transactions to your customers. Start accepting Bitcoin today!
With Blockonomics, you can integrate Bitcoin payments seamlessly without any middlemen, allowing payments to go directly to your wallet. This guide will take you step-by-step through the setup process, ensuring a fast, secure, and user-friendly experience for your customers.
Here's a video discussing this in detail:
Table of Contents
- Getting Started with Blockonomics
- Adding a Wallet to Blockonomics
- Installing the WHMCS Plugin
- Uploading the Plugin to Your WHMCS Directory
- Activating the Blockonomics Plugin
- Configuring API Settings
- Setting Up Store Preferences
- Testing the Checkout Process
- Why Use Blockonomics for WHMCS Payments?
- Frequently Asked Questions (FAQ)
Getting Started with Blockonomics
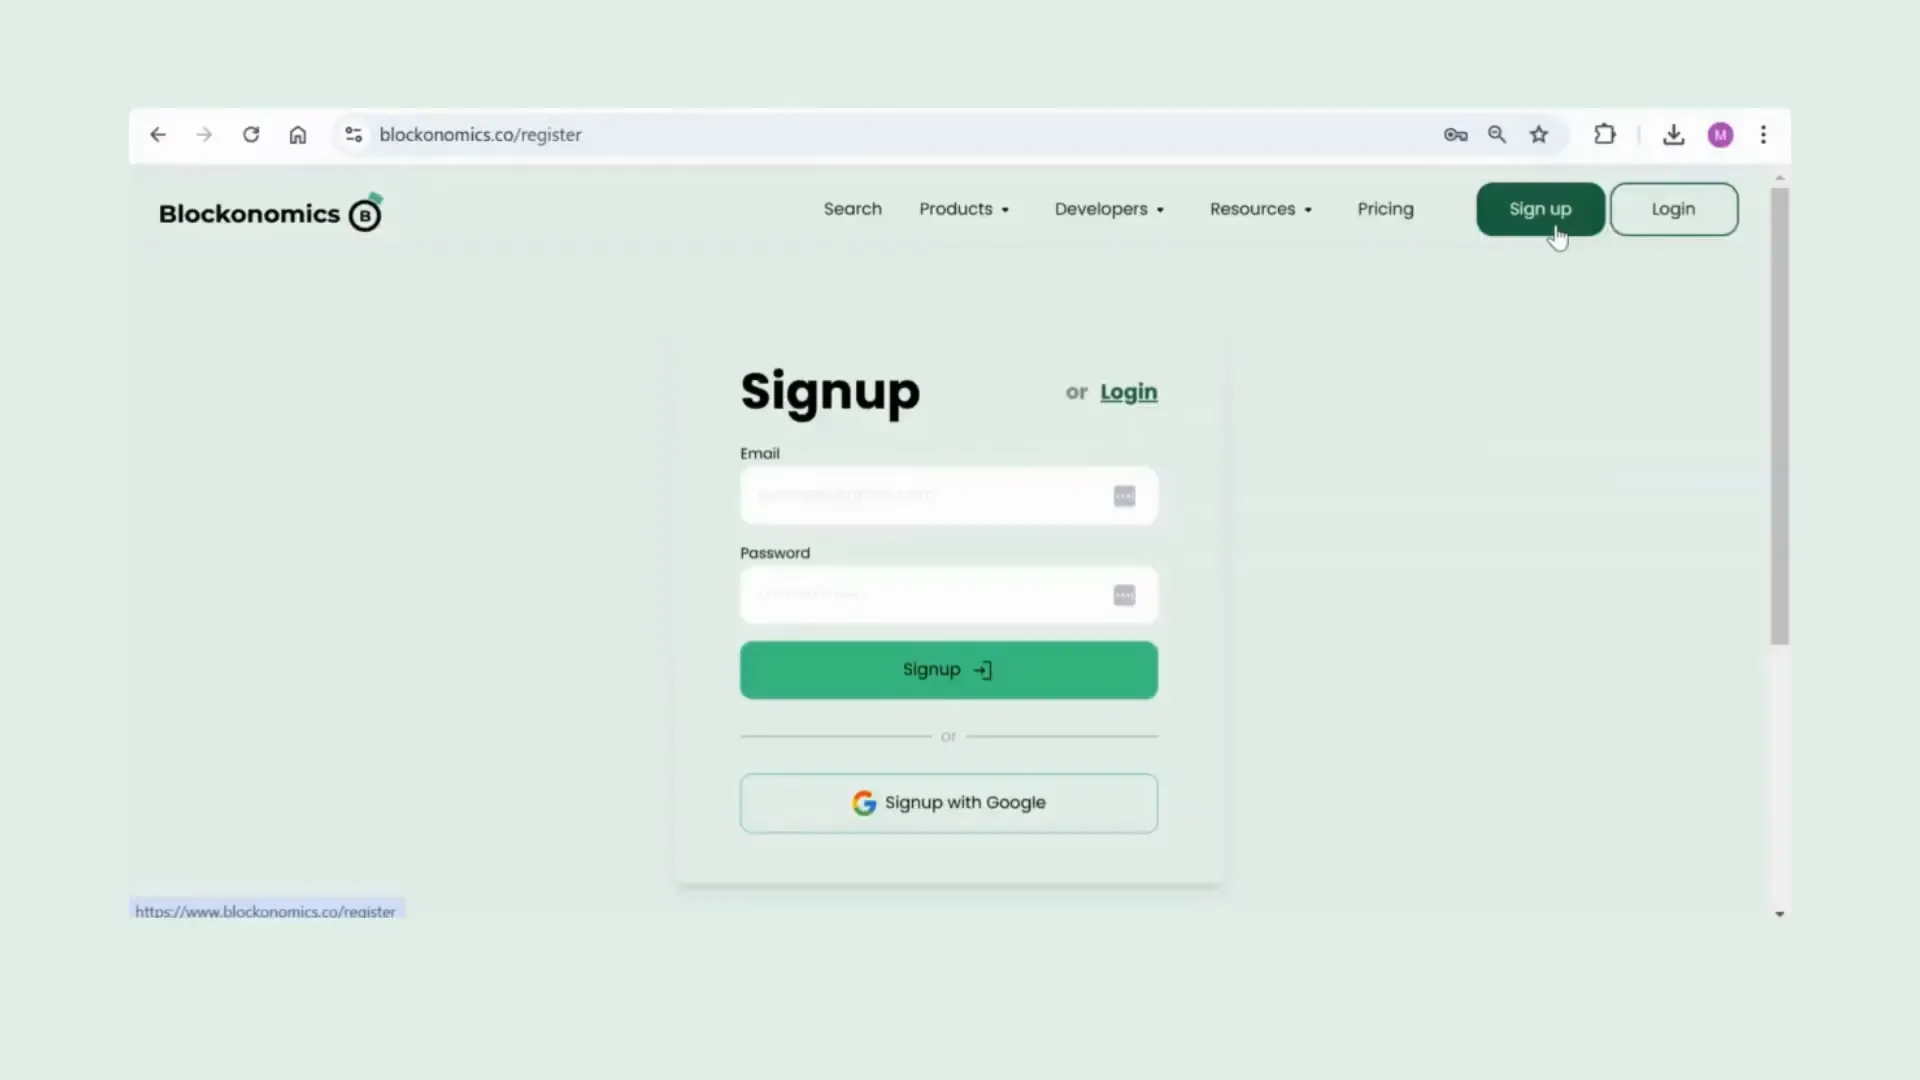
Creating a Blockonomics Account
- Head over to the Blockonomics website.
- You can create an account using your email and a password or opt for the simpler option by signing up with your Google account.
Adding a Wallet to Blockonomics
Once your account is set up, the next step is to add a wallet. This is crucial for receiving your Bitcoin payments directly.
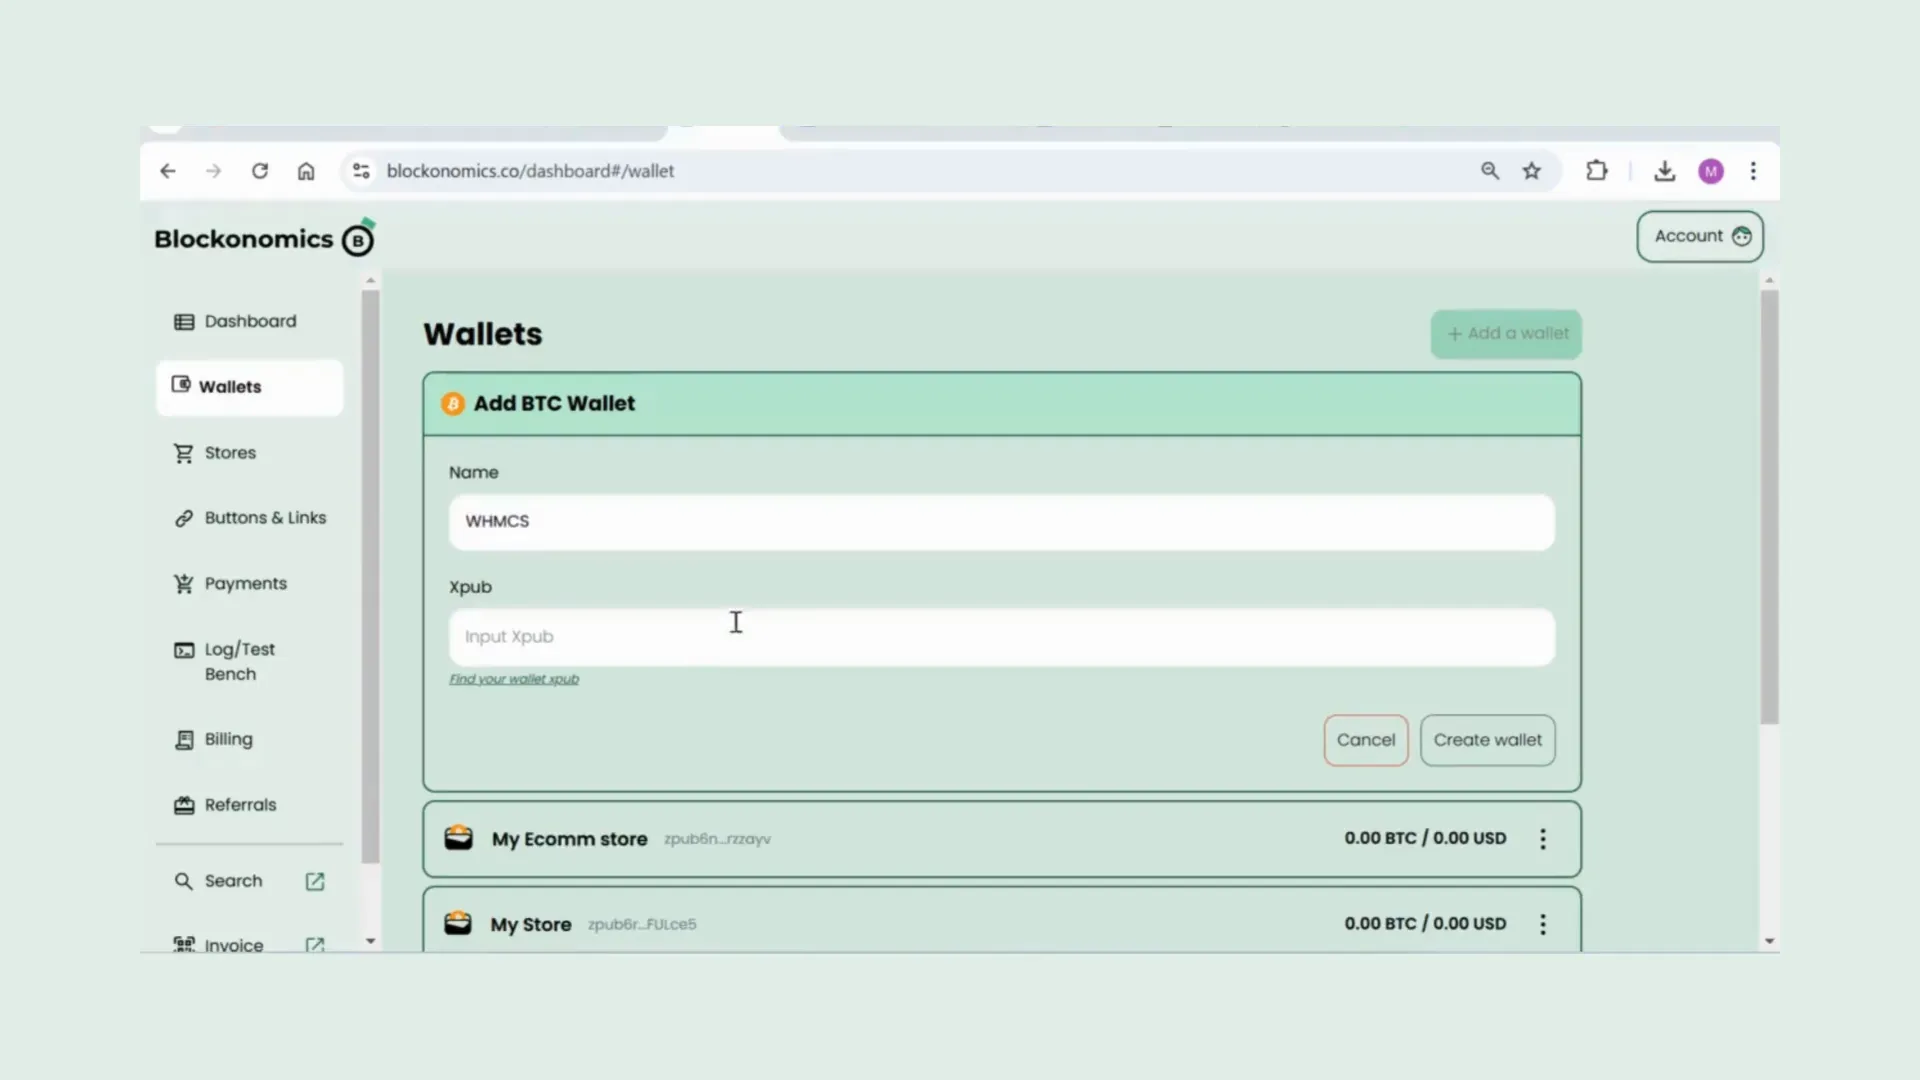
How to Add a Wallet
- Go to your Blockonomics dashboard.
- Click on 'Wallet' and then select 'Add a Wallet'.
- For this demo, we'll be using Electrum wallet.
Installing the WHMCS Plugin
Downloading the WHMCS Integration
- In your Blockonomics dashboard, click on 'Resources' in the menu.
- Select 'E-commerce Integration'.
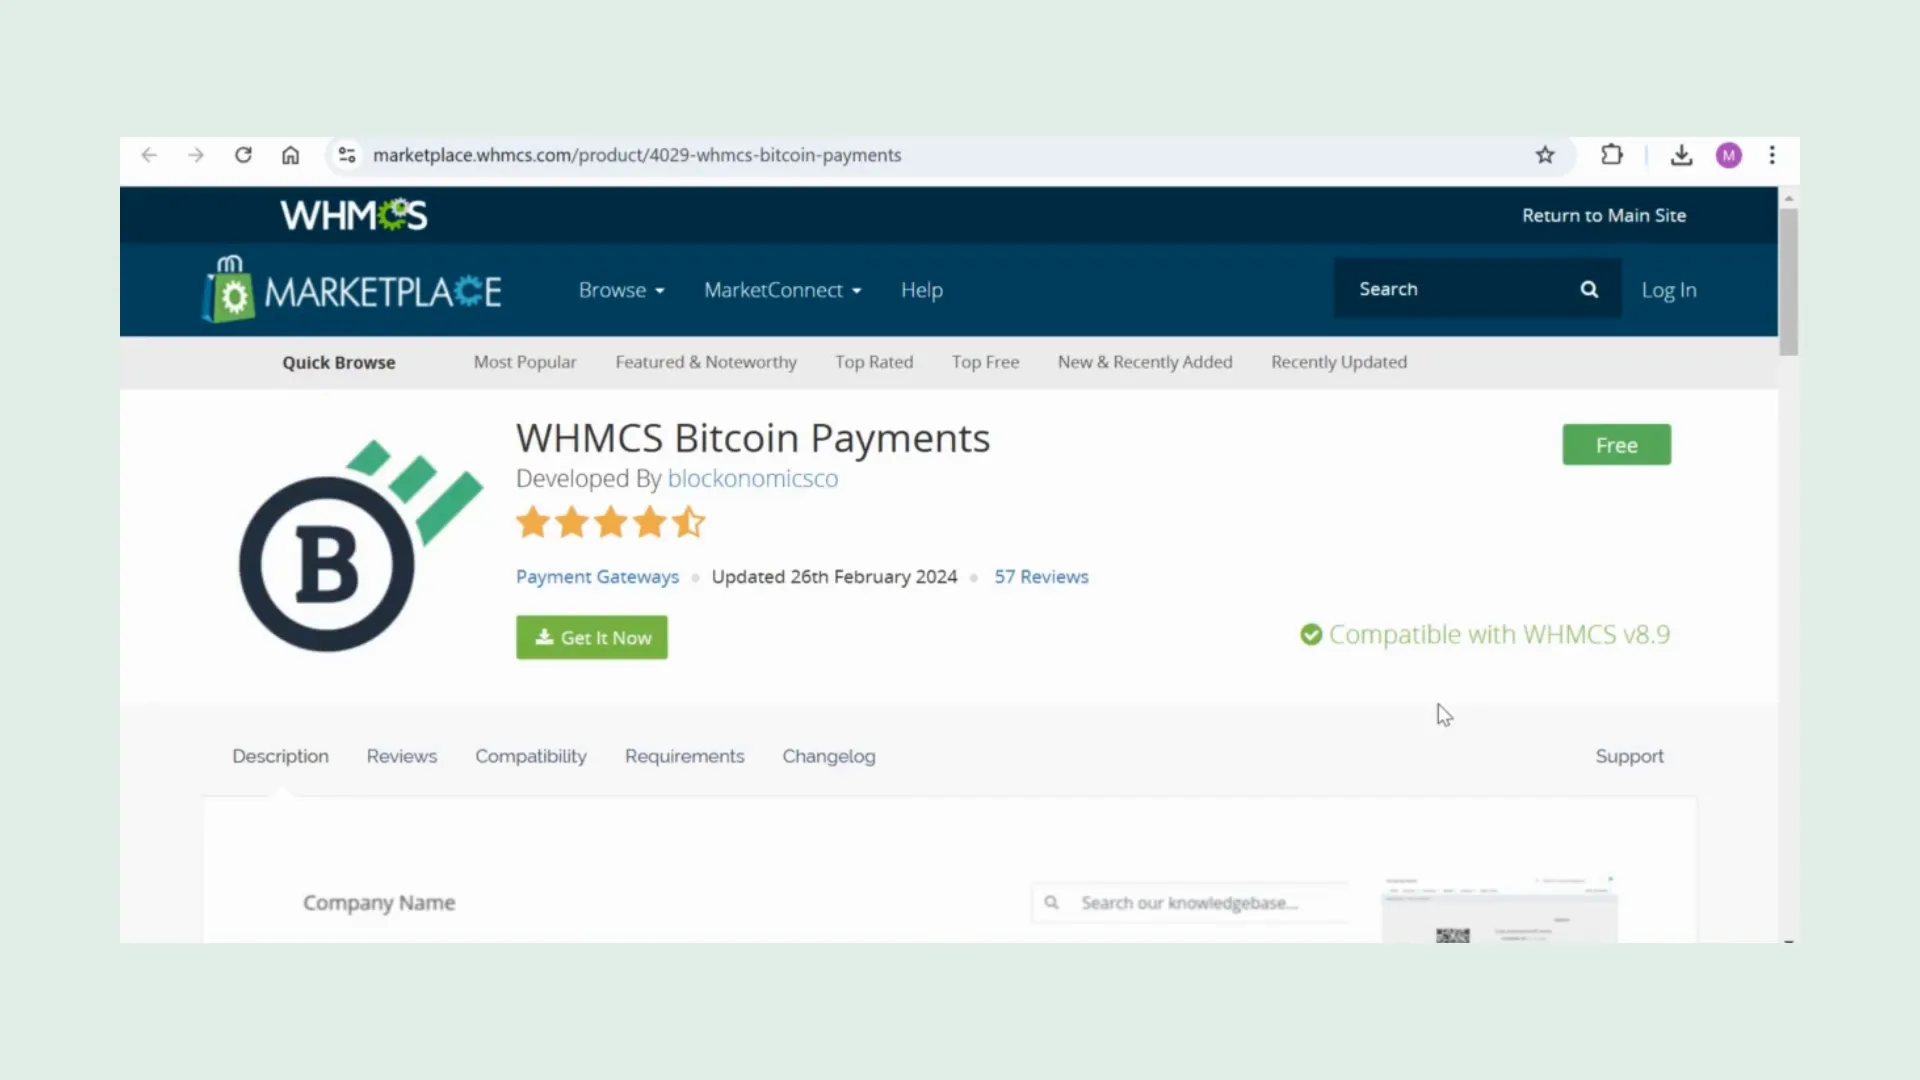
- Scroll down to find the WHMCS integration and click the download button. This will redirect you to the Blockonomics page on the WHMCS marketplace.
- Click 'Get it Now' to download the zip file.
Uploading the Plugin to Your WHMCS Directory
After downloading the plugin, we need to upload it to your WHMCS directory.
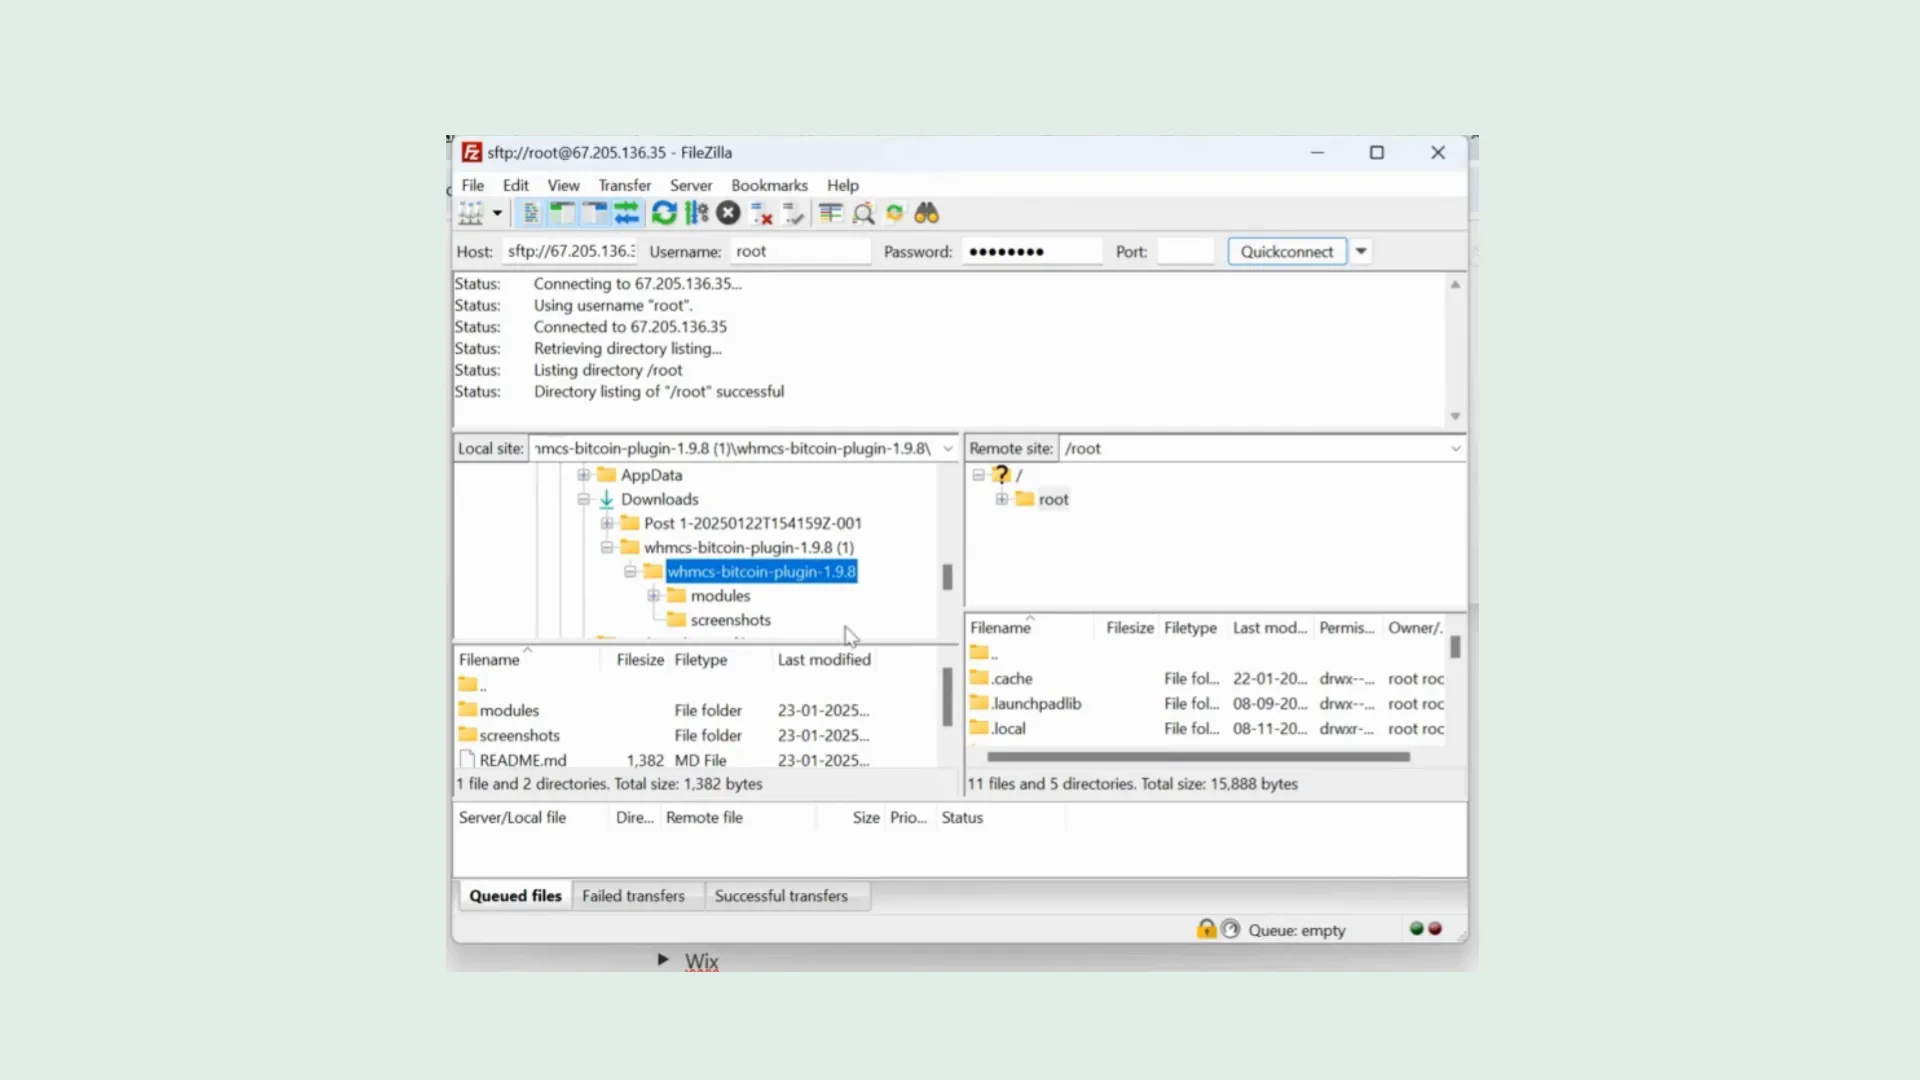
Using an FTP Client
- Open your FTP client, such as FileZilla.
- Connect to your WHMCS directory using your host, username, password, and port.
- Locate the Blockonomics plugin folder in your downloads, open it, and find the 'modules' folder.
- Copy the 'modules' folder to your root WHMCS directory.
Activating the Blockonomics Plugin
Now that the plugin is uploaded, it’s time to activate it in WHMCS.
Steps to Activate
- Log into your WHMCS account.
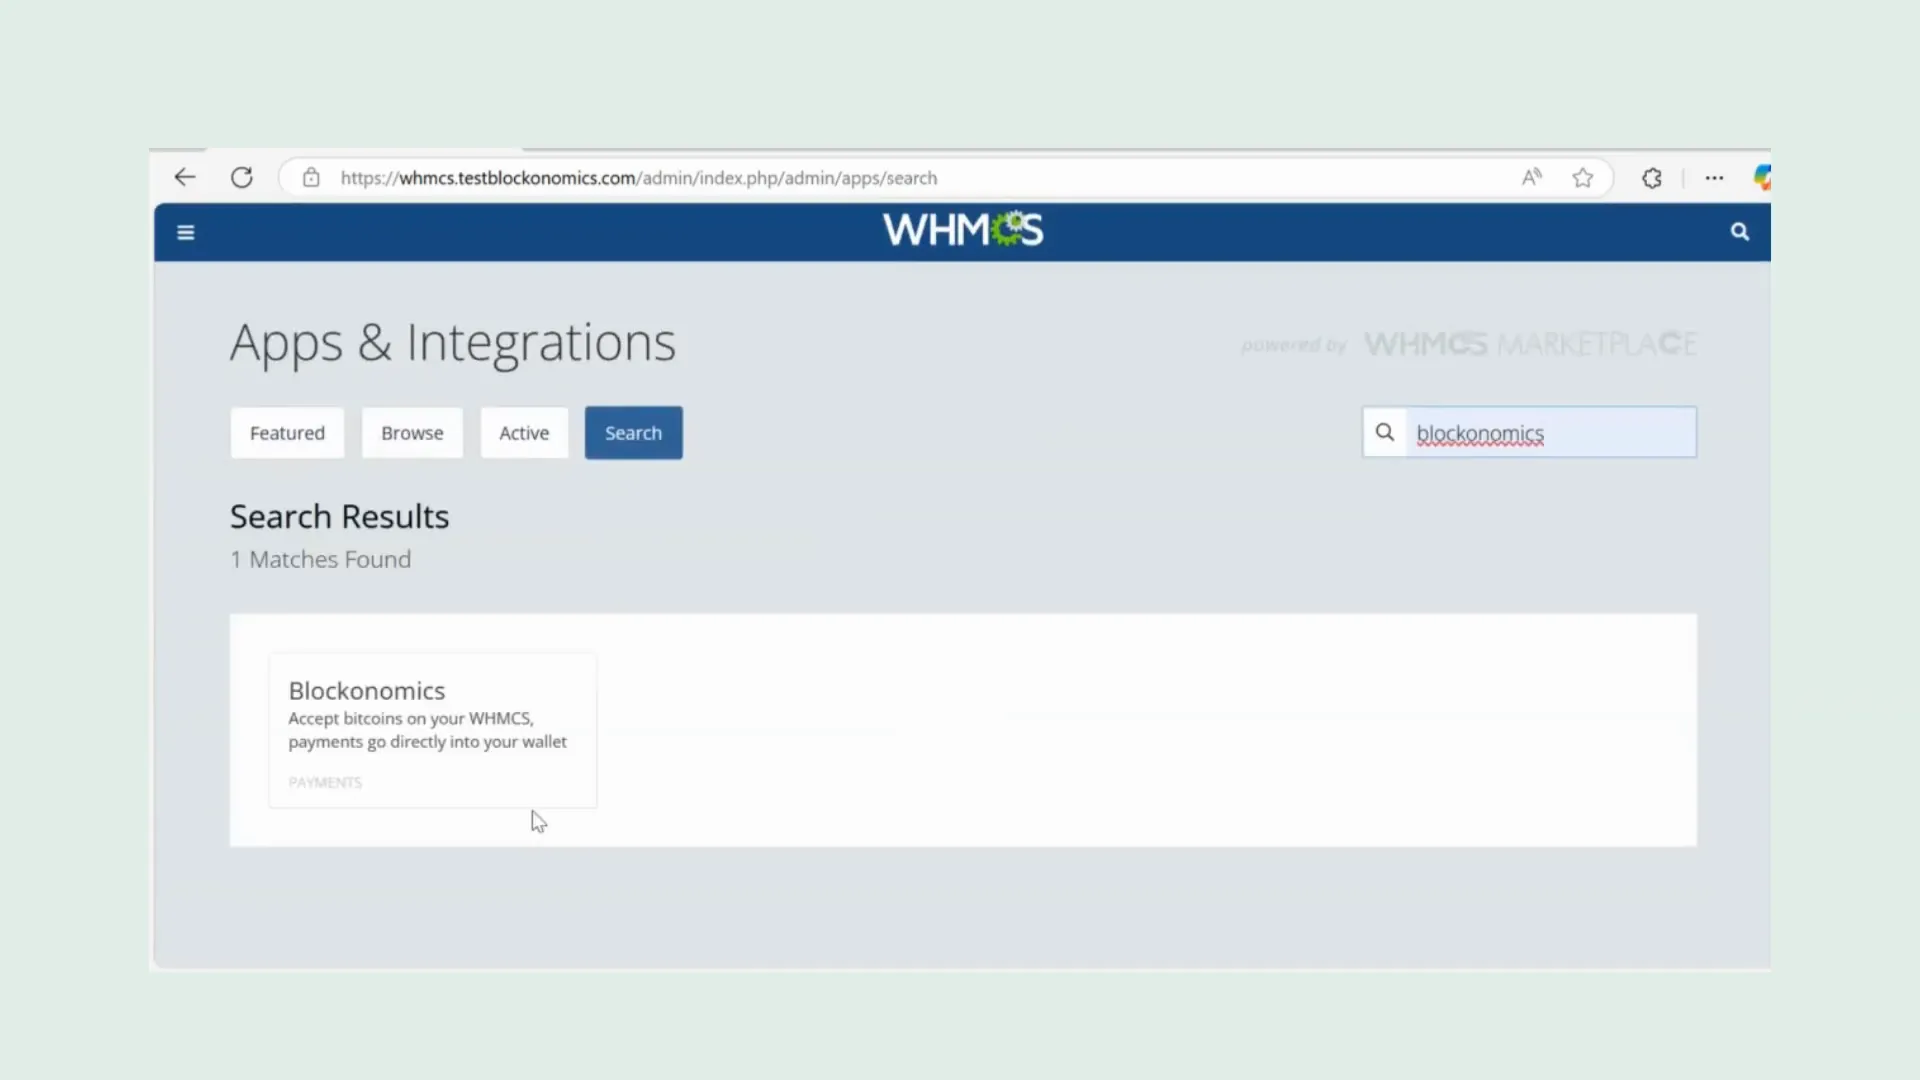
- Navigate to 'Add-ons' and then go to 'Apps and Integrations'.
- Click 'Browse' under payments and search for Blockonomics.
- Once you find it, click on Blockonomics and hit 'Activate'.
Configuring API Settings
With the plugin activated, we now need to configure the API settings.
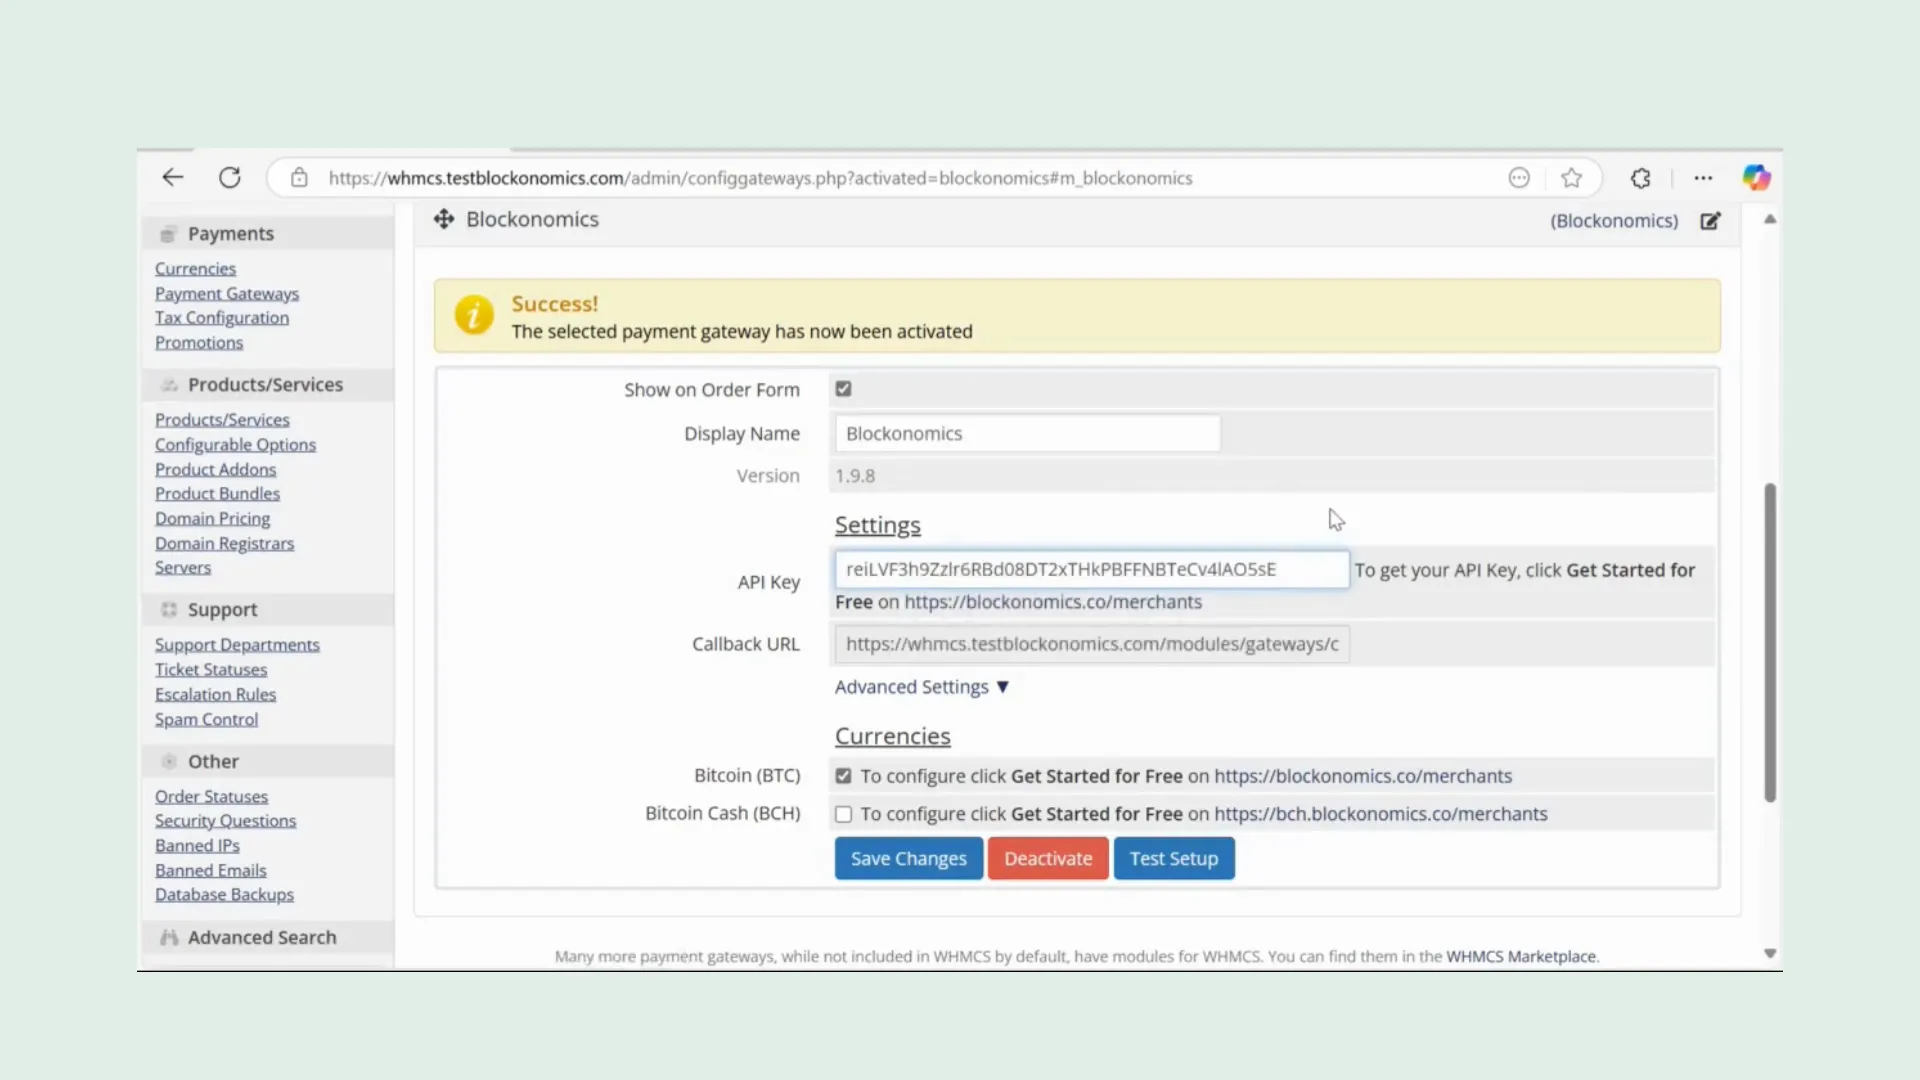
Getting Your API Key
- Head back to your Blockonomics dashboard.
- Click on 'Stores' and copy the API key.
- Paste this API key into the configuration page in WHMCS.
Setting Up Store Preferences
Now it’s time to create a store and set your preferences.
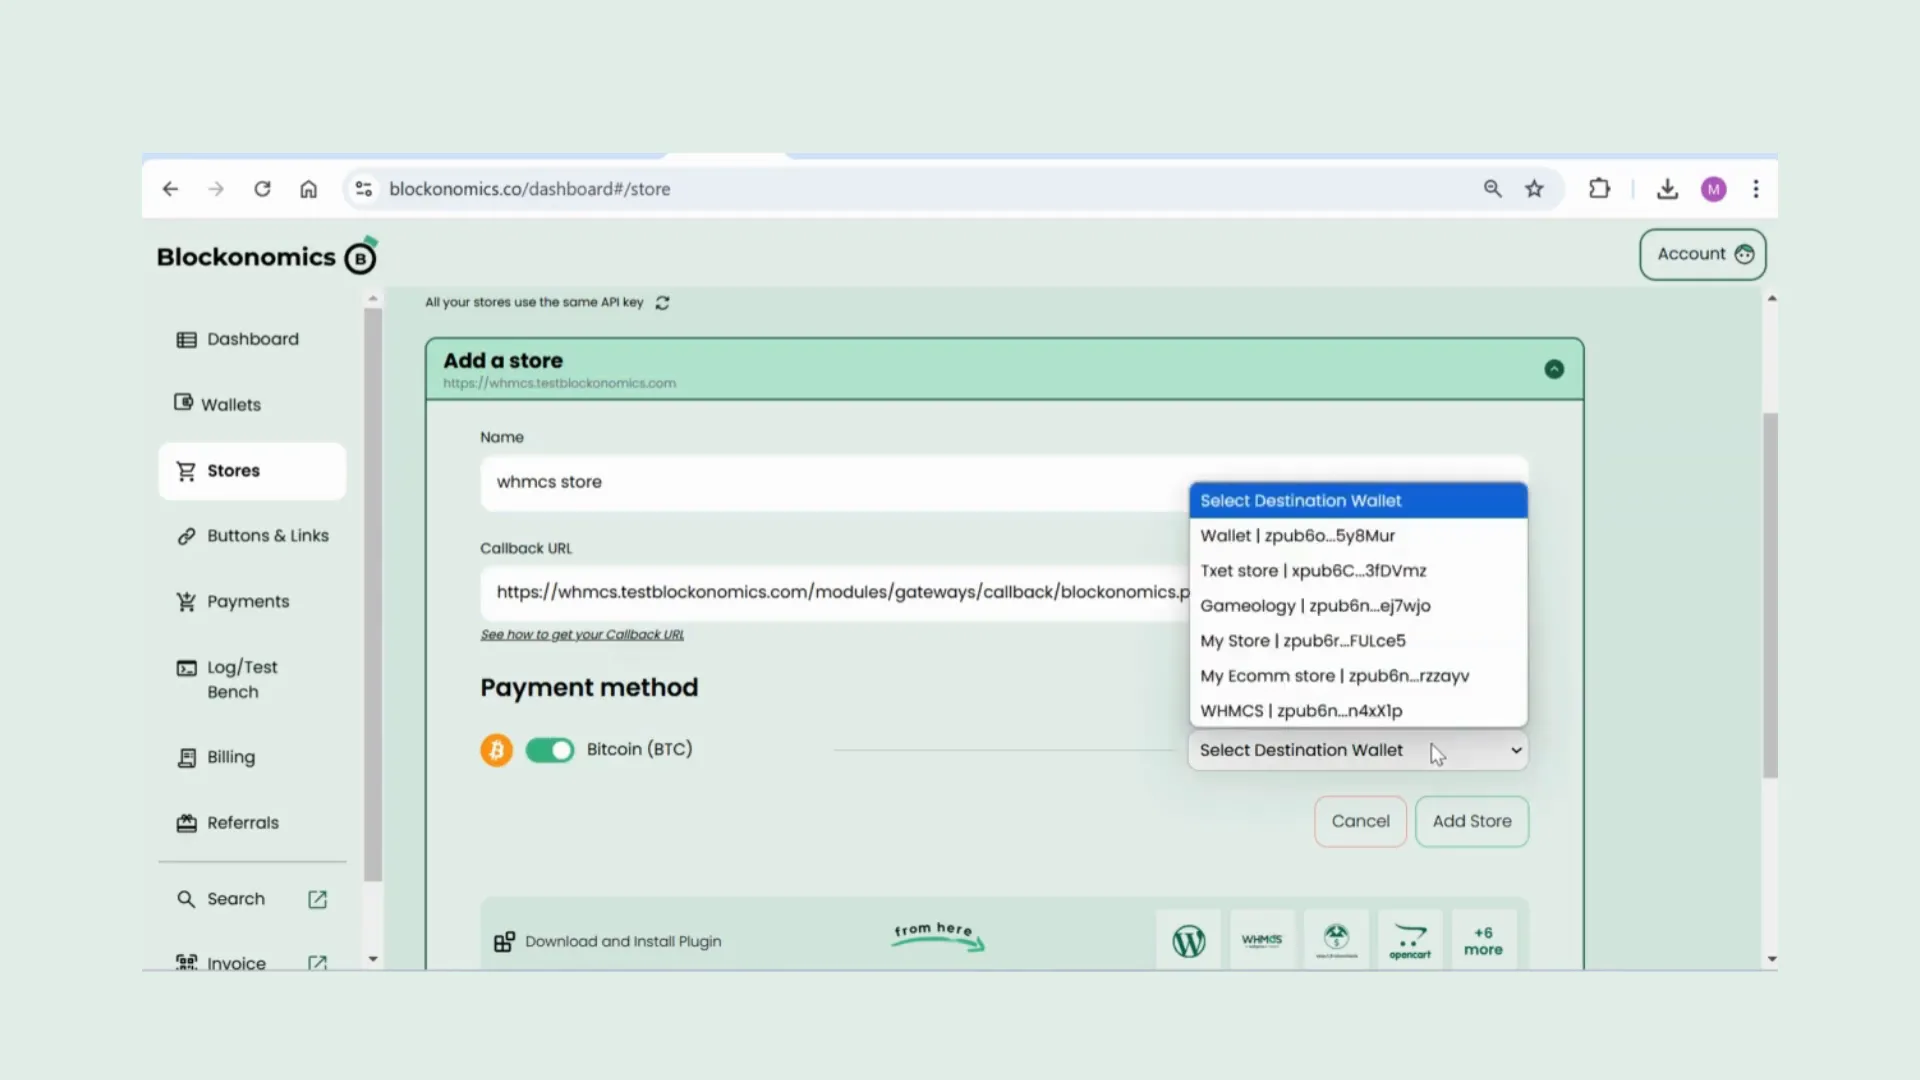
Creating Your Store
- Name your store.
- Copy the Callback URL from the WHMCS page and paste it into the store settings on Blockonomics.
- Toggle the button under 'Payment Method' and choose your destination wallet.
- Hit 'Add Store'.
Testing the Checkout Process
Everything is set up! Now test the checkout process to ensure everything works smoothly.
Performing a Test Checkout
- As a user on your WHMCS store, add an item to your cart.
- When you click on the checkout button, you should see Blockonomics pop up automatically.
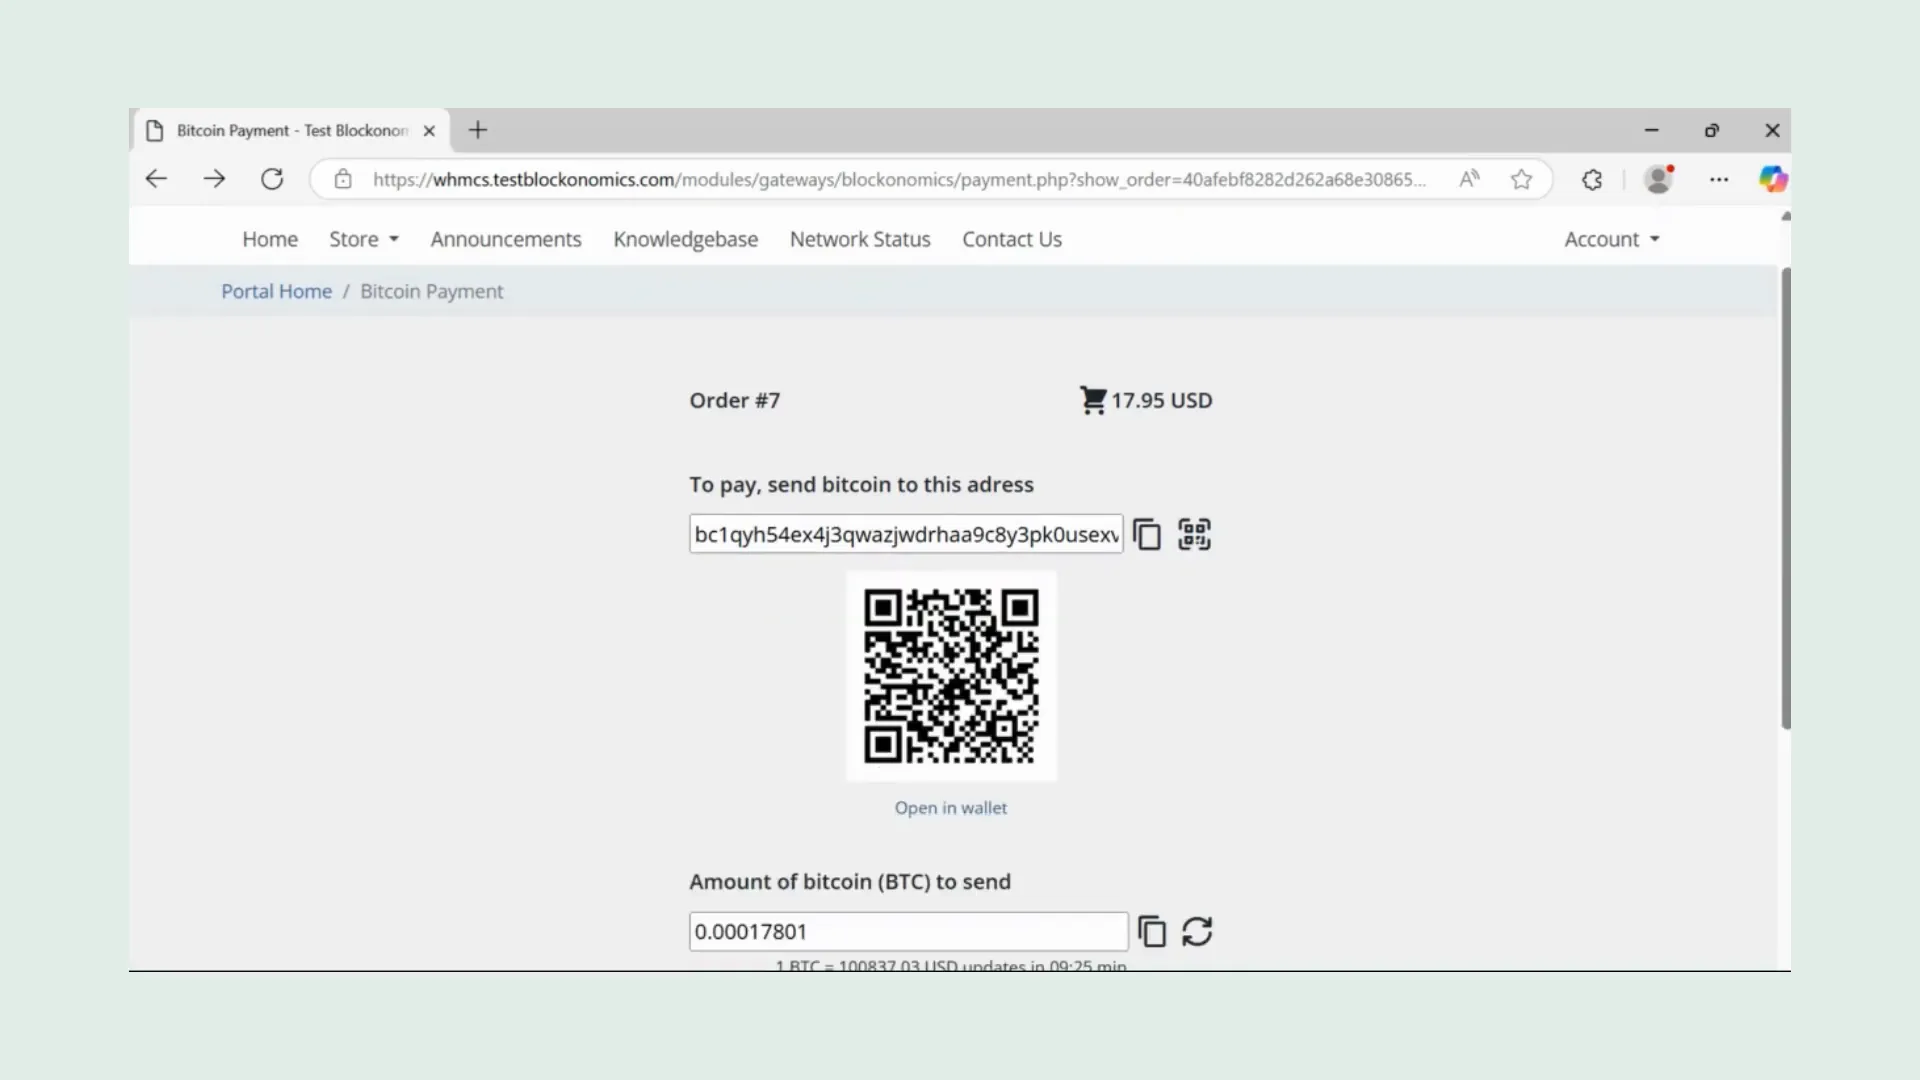
- Click 'Complete Payment' and you’ll be taken to the payment screen.
- Your customers will stay on your site the entire time. They’ll receive a BTC address and the amount to pay, along with a handy QR code for easy scanning.
And we're done! Go forth and accept Bitcoin!
Frequently Asked Questions (FAQ)
How long does it take to set up Blockonomics with WHMCS?
The setup process can be completed in less than 10 minutes if you follow the steps outlined in this guide.
Can I accept other cryptocurrencies aside from Bitcoin?
Yes, Blockonomics allows you to accept Bitcoin Cash (BCH) and USDT.
Where can I find more integrations supported by Blockonomics?
You can check out various e-commerce integrations supported by Blockonomics by visiting their Integrations page.
Stay Connected
For updates and more tips, follow us on X (formerly Twitter) and check out our website.
Comments ()