How to Accept Bitcoin on Your WooCommerce Store with Blockonomics
Learn how to accept Bitcoin on WooCommerce in under 5 minutes using Blockonomics

Accepting Bitcoin on your WooCommerce store has never been easier, thanks to the latest updates from Blockonomics. This guide will walk you through the process of setting up Bitcoin payments on your WordPress site, ensuring a seamless experience for both you and your customers. Let’s get started!
Here is a video discussing the setup process in detail:
Table of Contents
- Why Choose Blockonomics?
- Getting Started with Blockonomics
- Installing the Blockonomics Plugin
- Verification and Final Setup
- Testing Bitcoin Payments
- Order Management
- Advanced Features
- FAQs
- Conclusion
Why Choose Blockonomics?
Blockonomics is a privacy-first cryptocurrency payment solution that offers a straightforward way to integrate Bitcoin payments into your WooCommerce store. One of the standout features is the lack of KYC (Know Your Customer) requirements, making it a hassle-free option for merchants. With 24/7 support, you can feel confident in your choice.
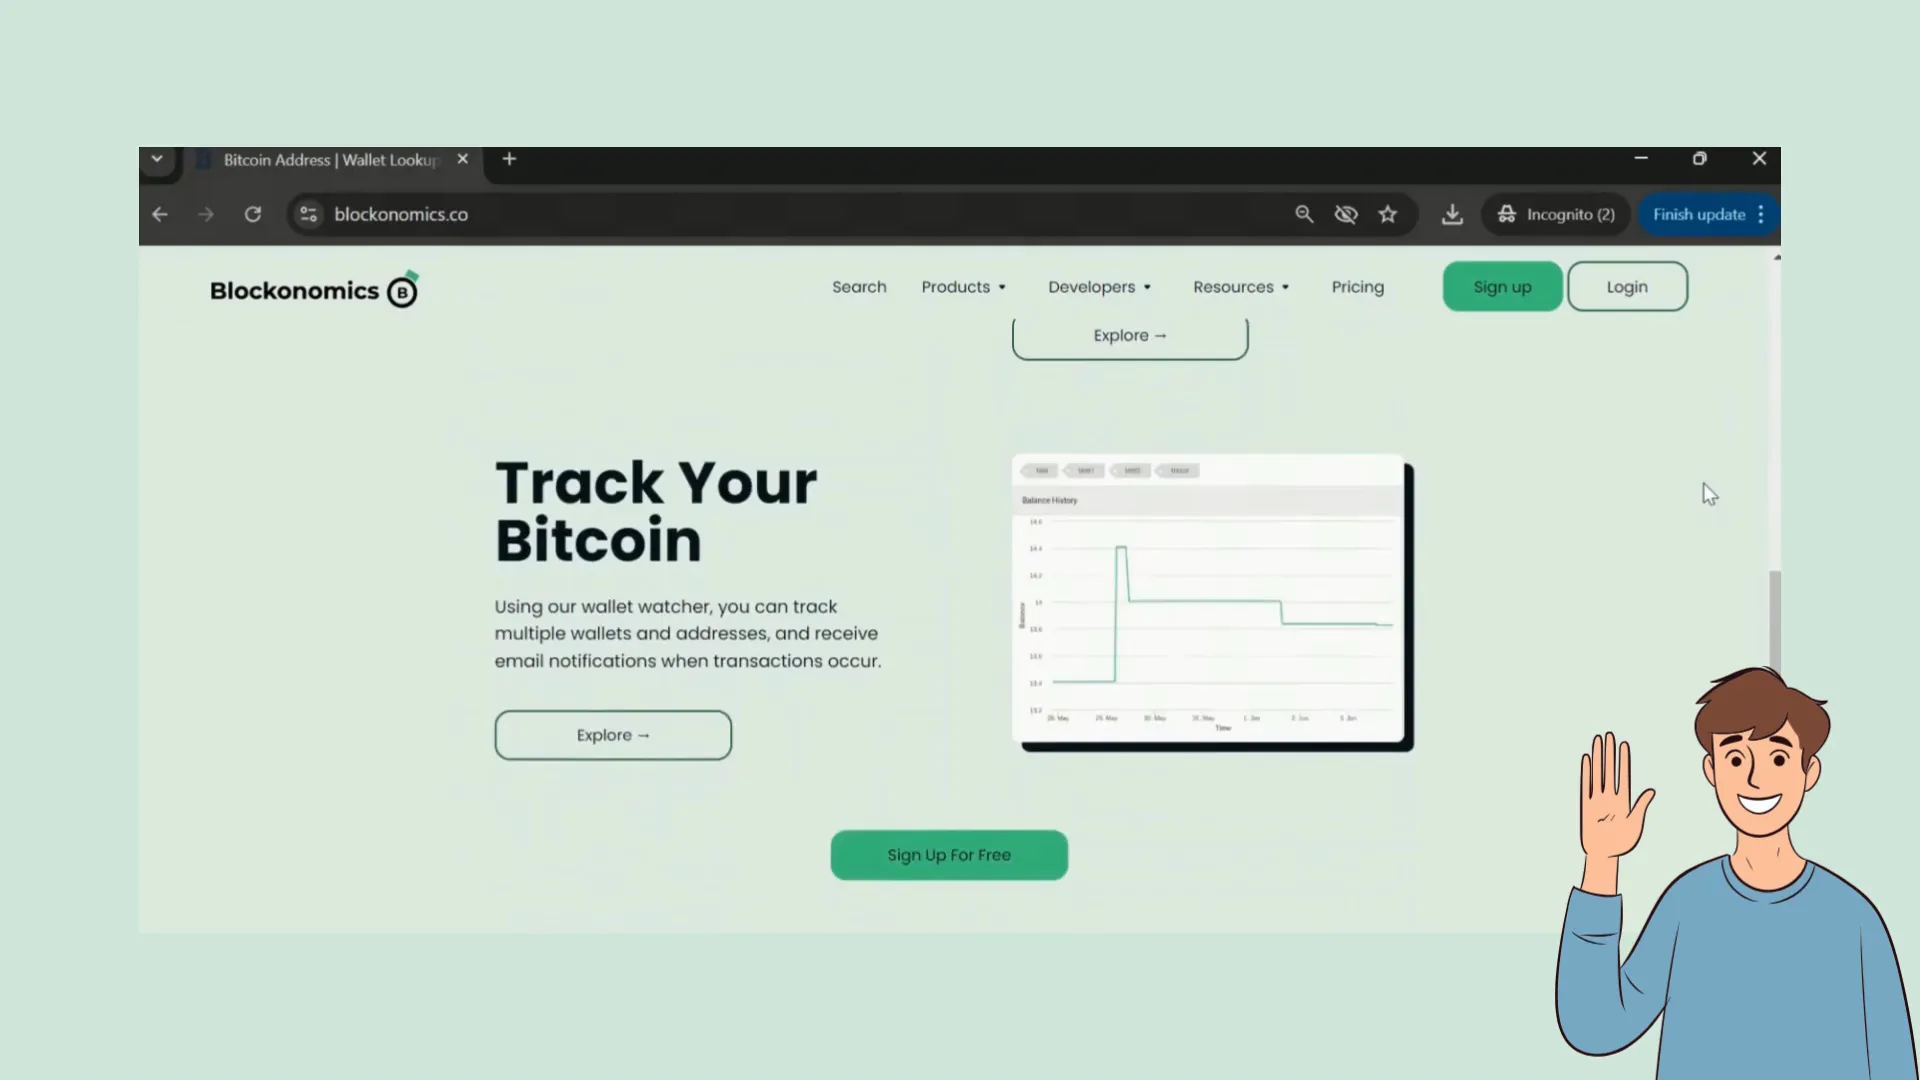
Getting Started with Blockonomics
The first step to accepting Bitcoin is to sign up for a Blockonomics account. You have the flexibility to create an account using your email and password, or you can opt for a quicker sign-up using your Google account.
Adding Your Wallet
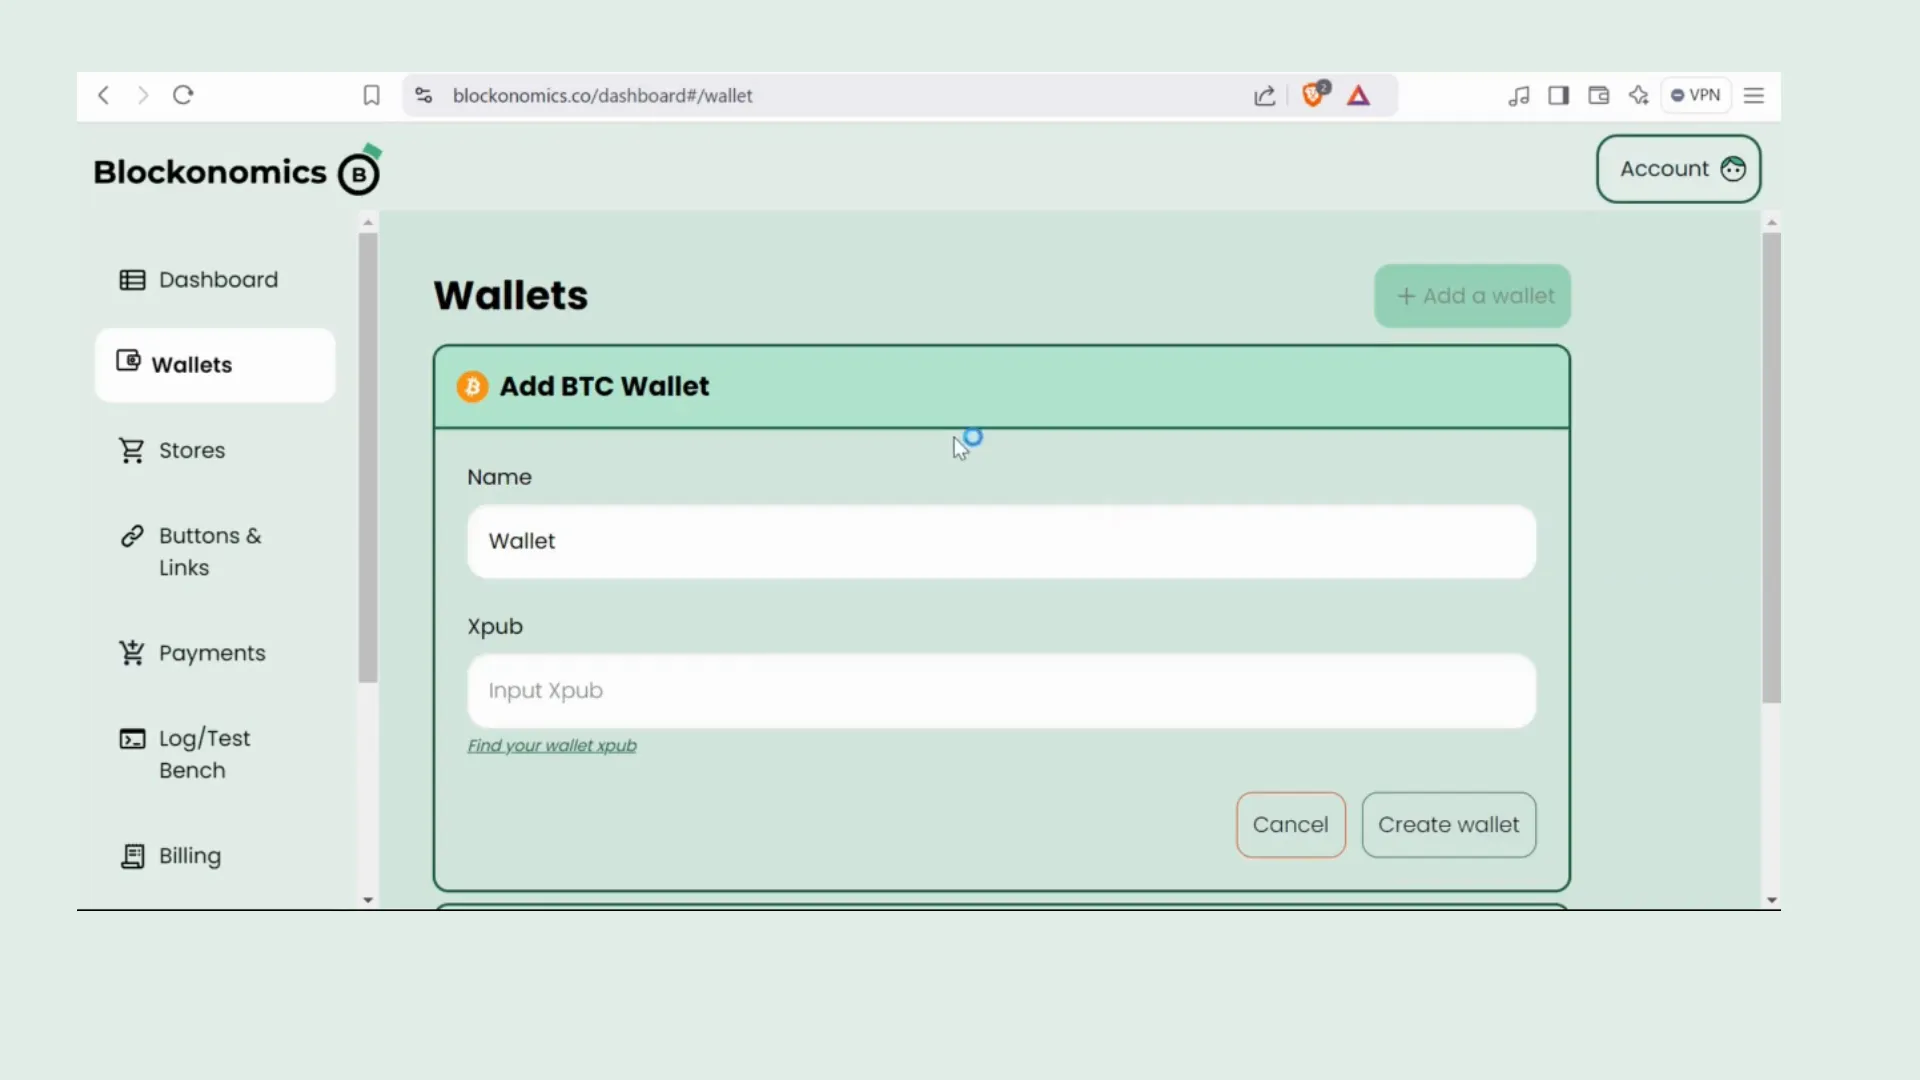
Once you have your account, the next step is to add a wallet. Navigate to your Blockonomics dashboard and locate the wallet tab on the left side. Click on it, then select 'Add a Wallet'.
Here, you’ll need to name your wallet. If you require assistance, Blockonomics provides an exclusive video on their YouTube channel that demonstrates how to add different wallets. For this tutorial, we will use an Electrum wallet. Grab your X Pub key and receiving address from your Electrum wallet and enter them into the required fields.
Installing the Blockonomics Plugin
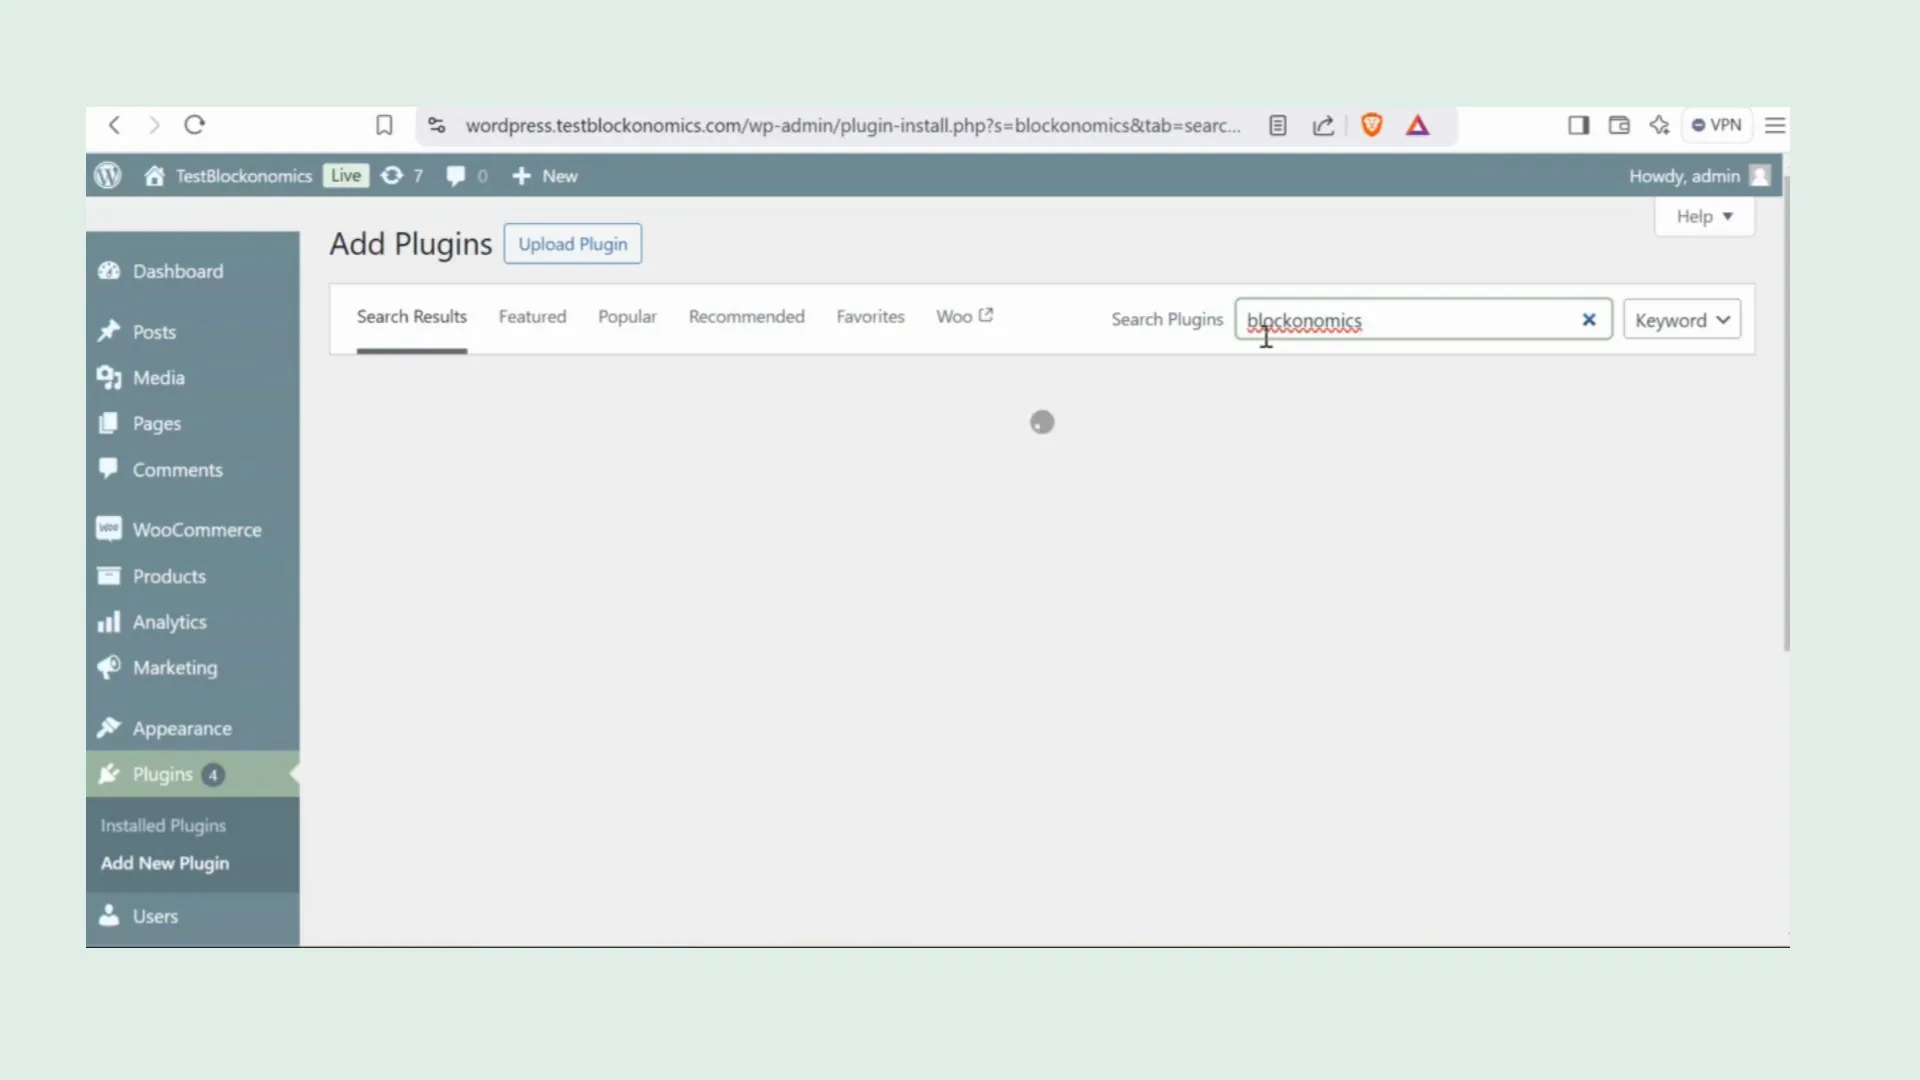
Now that your wallet is set up, it’s time to integrate Blockonomics with your WooCommerce store. Log into your WordPress dashboard and click on the 'Plugins' option on the left side. Choose 'Add New Plugin' and search for 'Blockonomics'.
Once you find the WordPress Bitcoin payments Blockonomics plugin, click 'Install Now' and then 'Activate' to enable the plugin.
Configuring the Plugin Settings
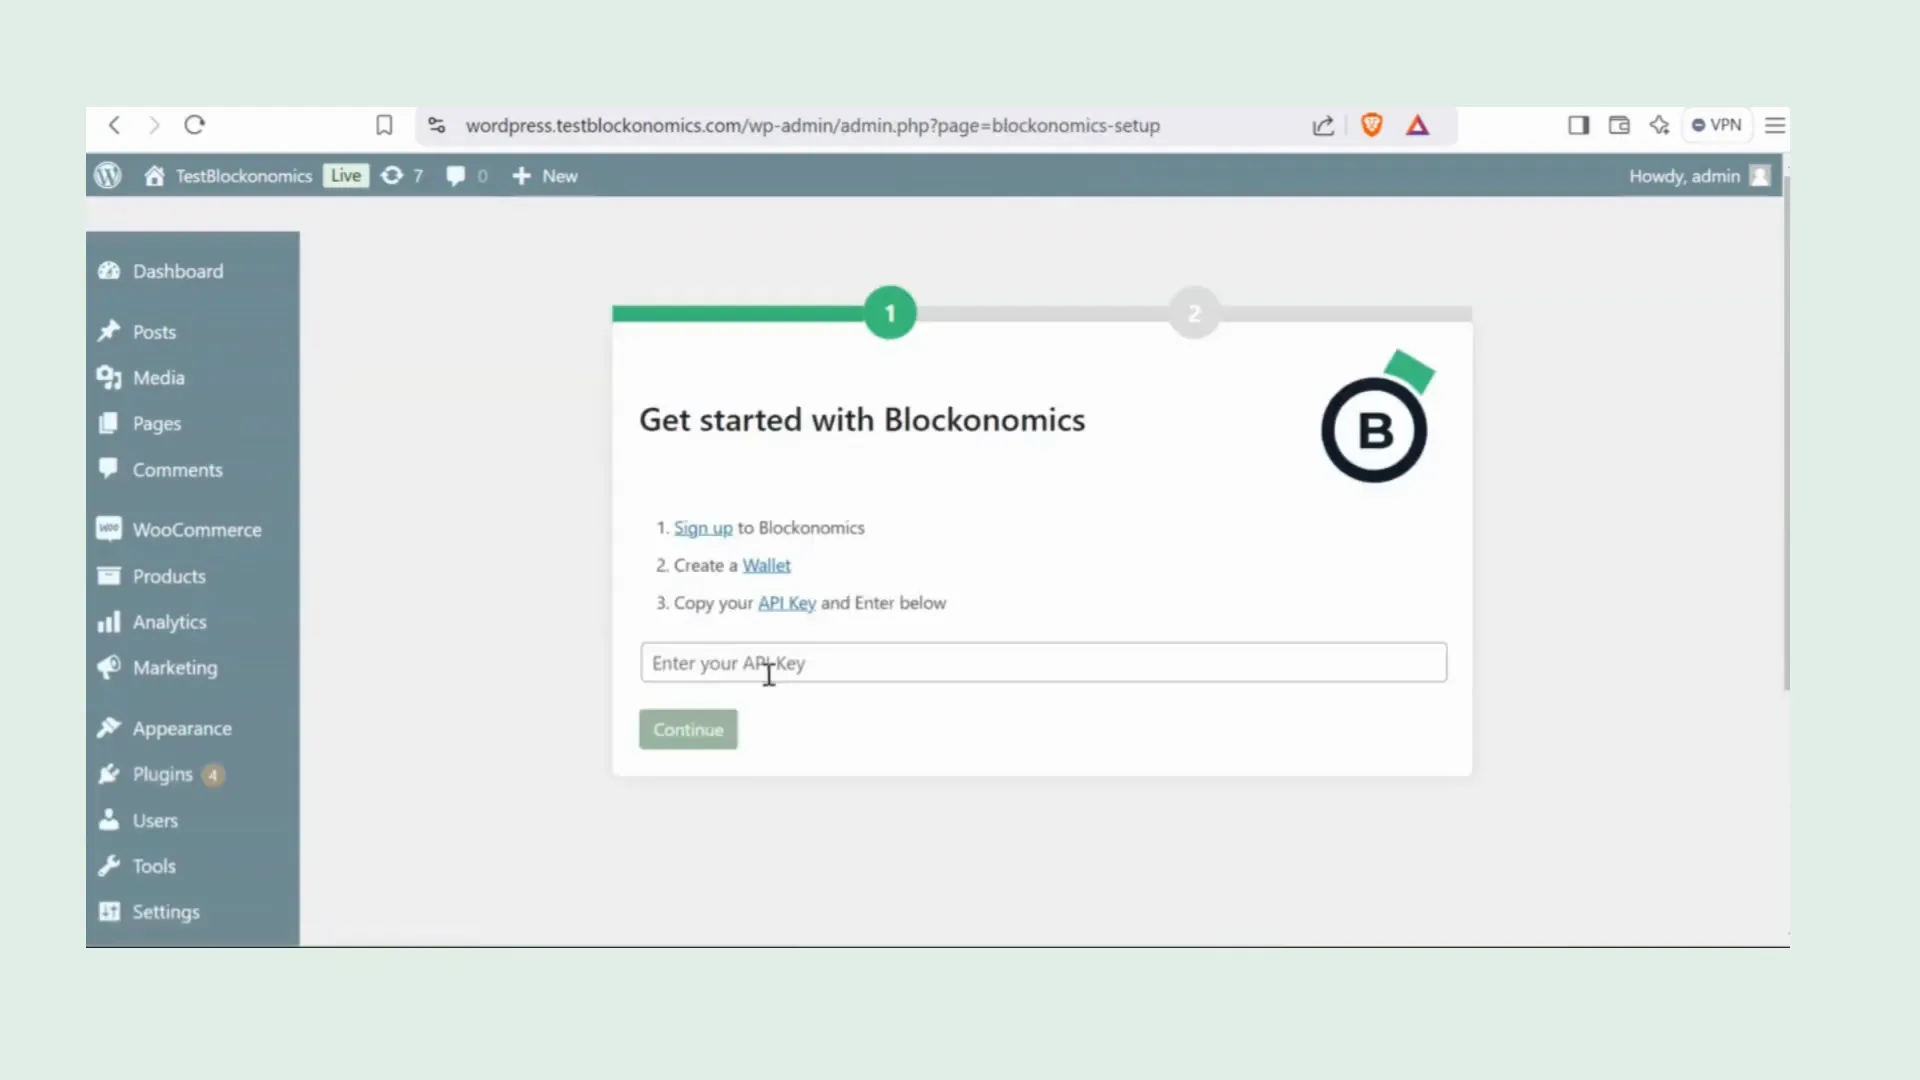
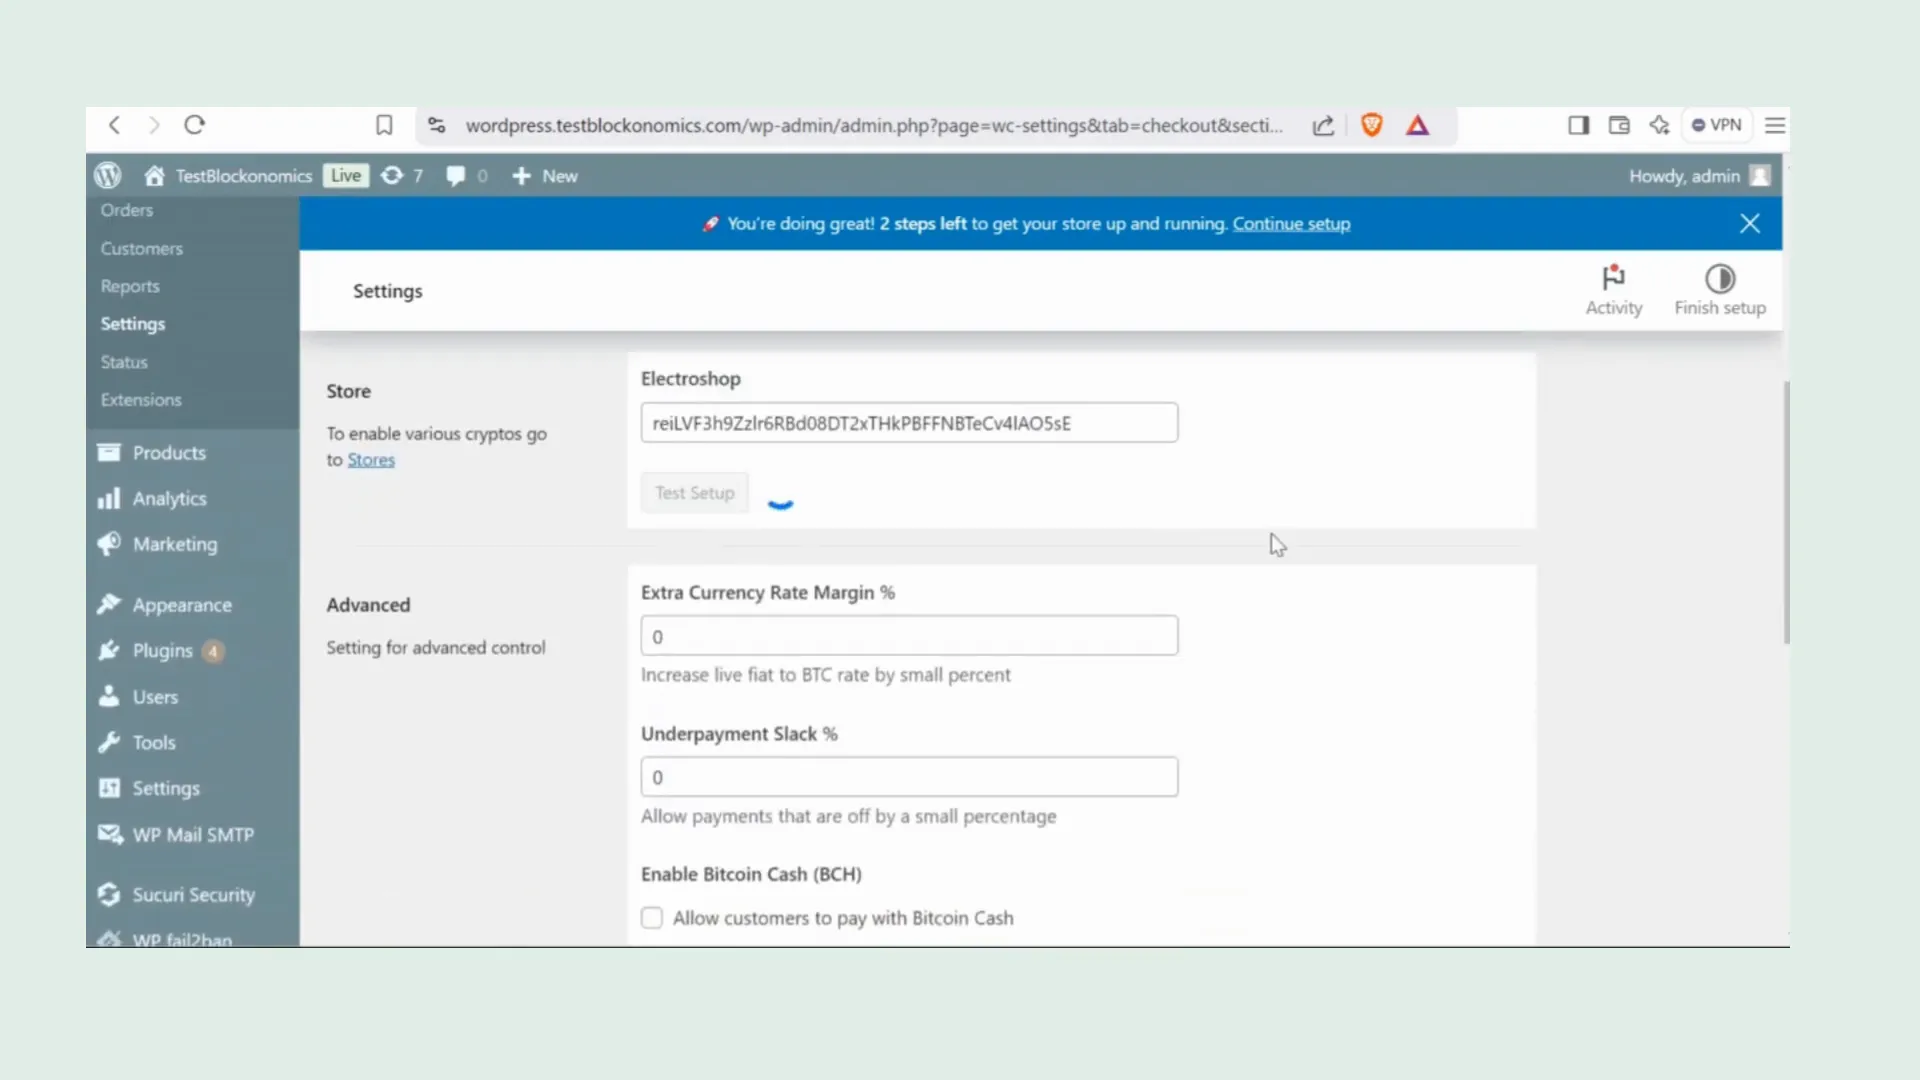
After activating the plugin, return to your list of installed plugins, find the Blockonomics plugin, and click on 'Settings'. This is where you will add your API key.
To retrieve your API key, head back to your Blockonomics dashboard, navigate to 'Stores', copy the API key, and paste it into the plugin settings on your WordPress site. Click 'Continue' once you've named your store.
Verification and Final Setup
Once you’ve completed the setup, Blockonomics automatically enables the Bitcoin payment option in your WooCommerce store—no extra steps are needed. You can check if everything is set up correctly by clicking on 'Test Setup'. If you see BTC with a green check mark, you’re all set!
Viewing Your Store
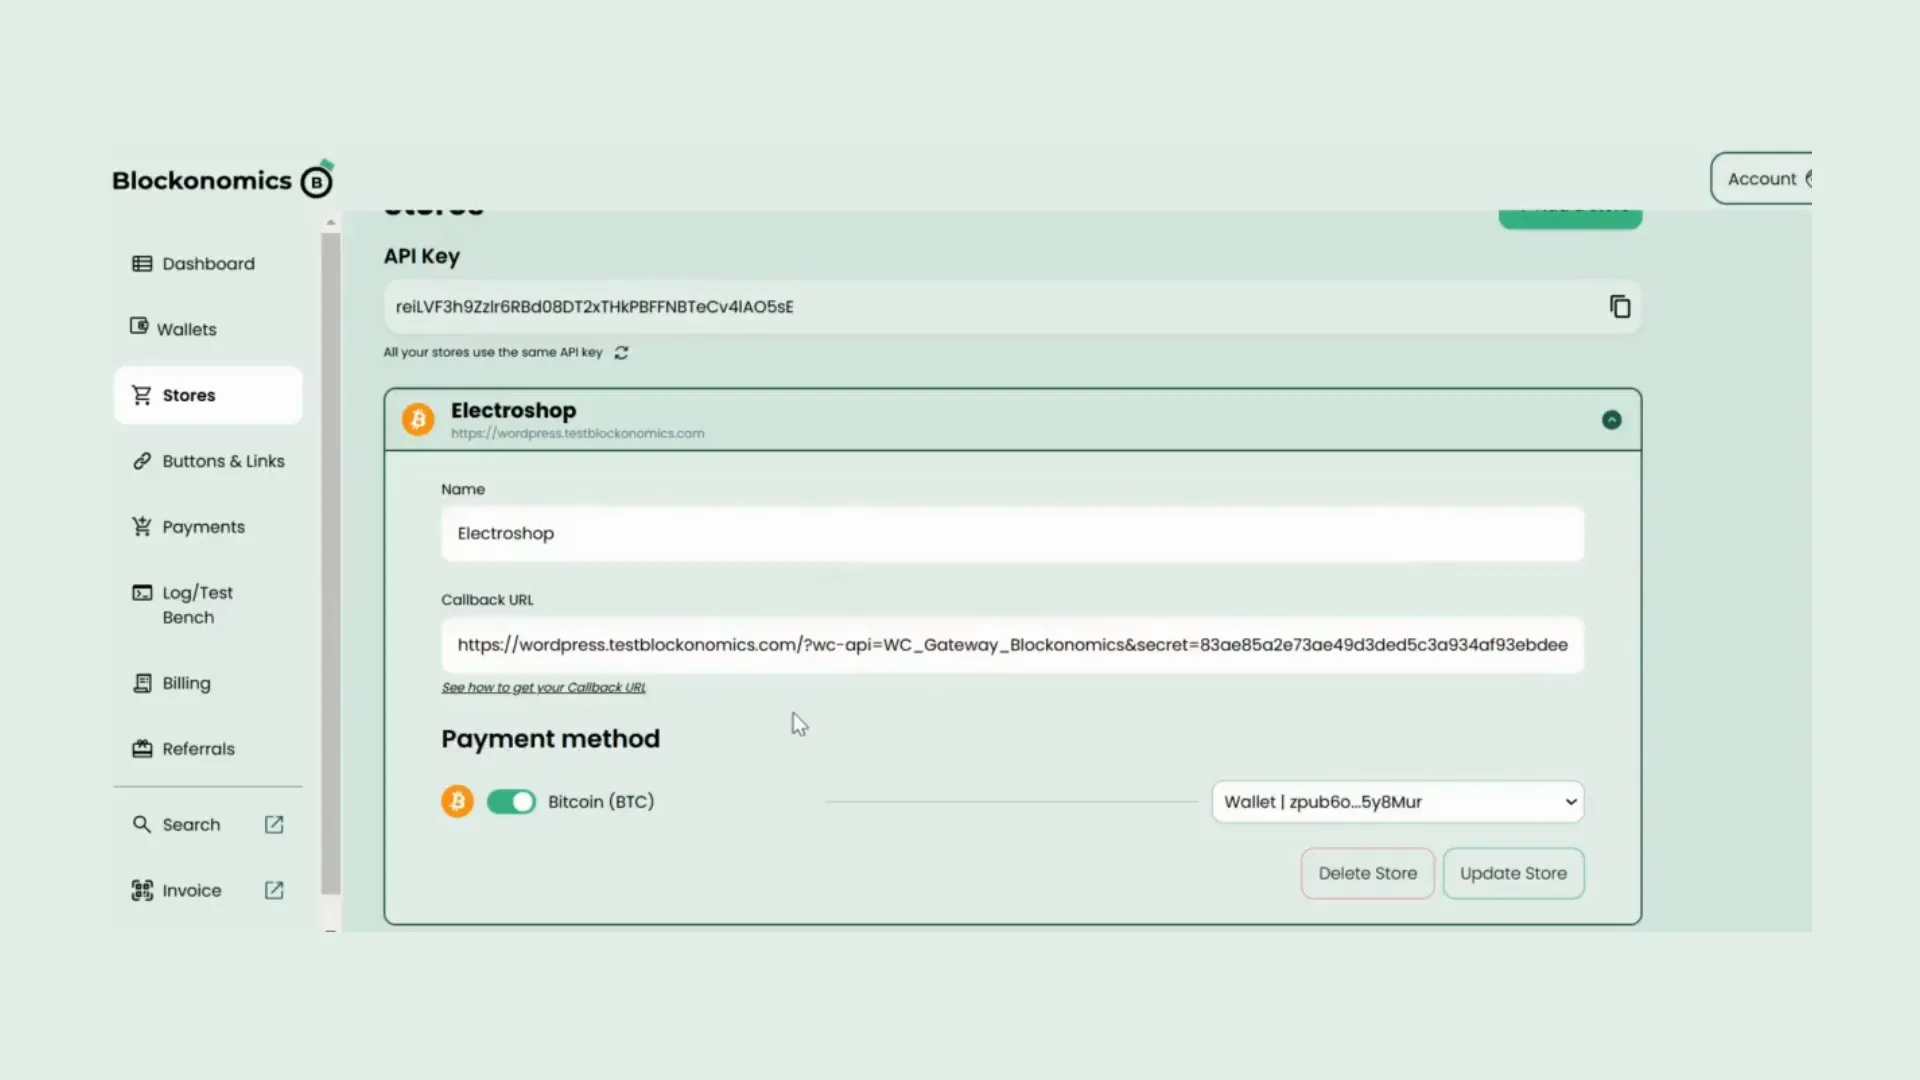
Go back to your Blockonomics dashboard and refresh the 'Stores' section. Your store should now appear with all the necessary settings enabled.
Testing Bitcoin Payments
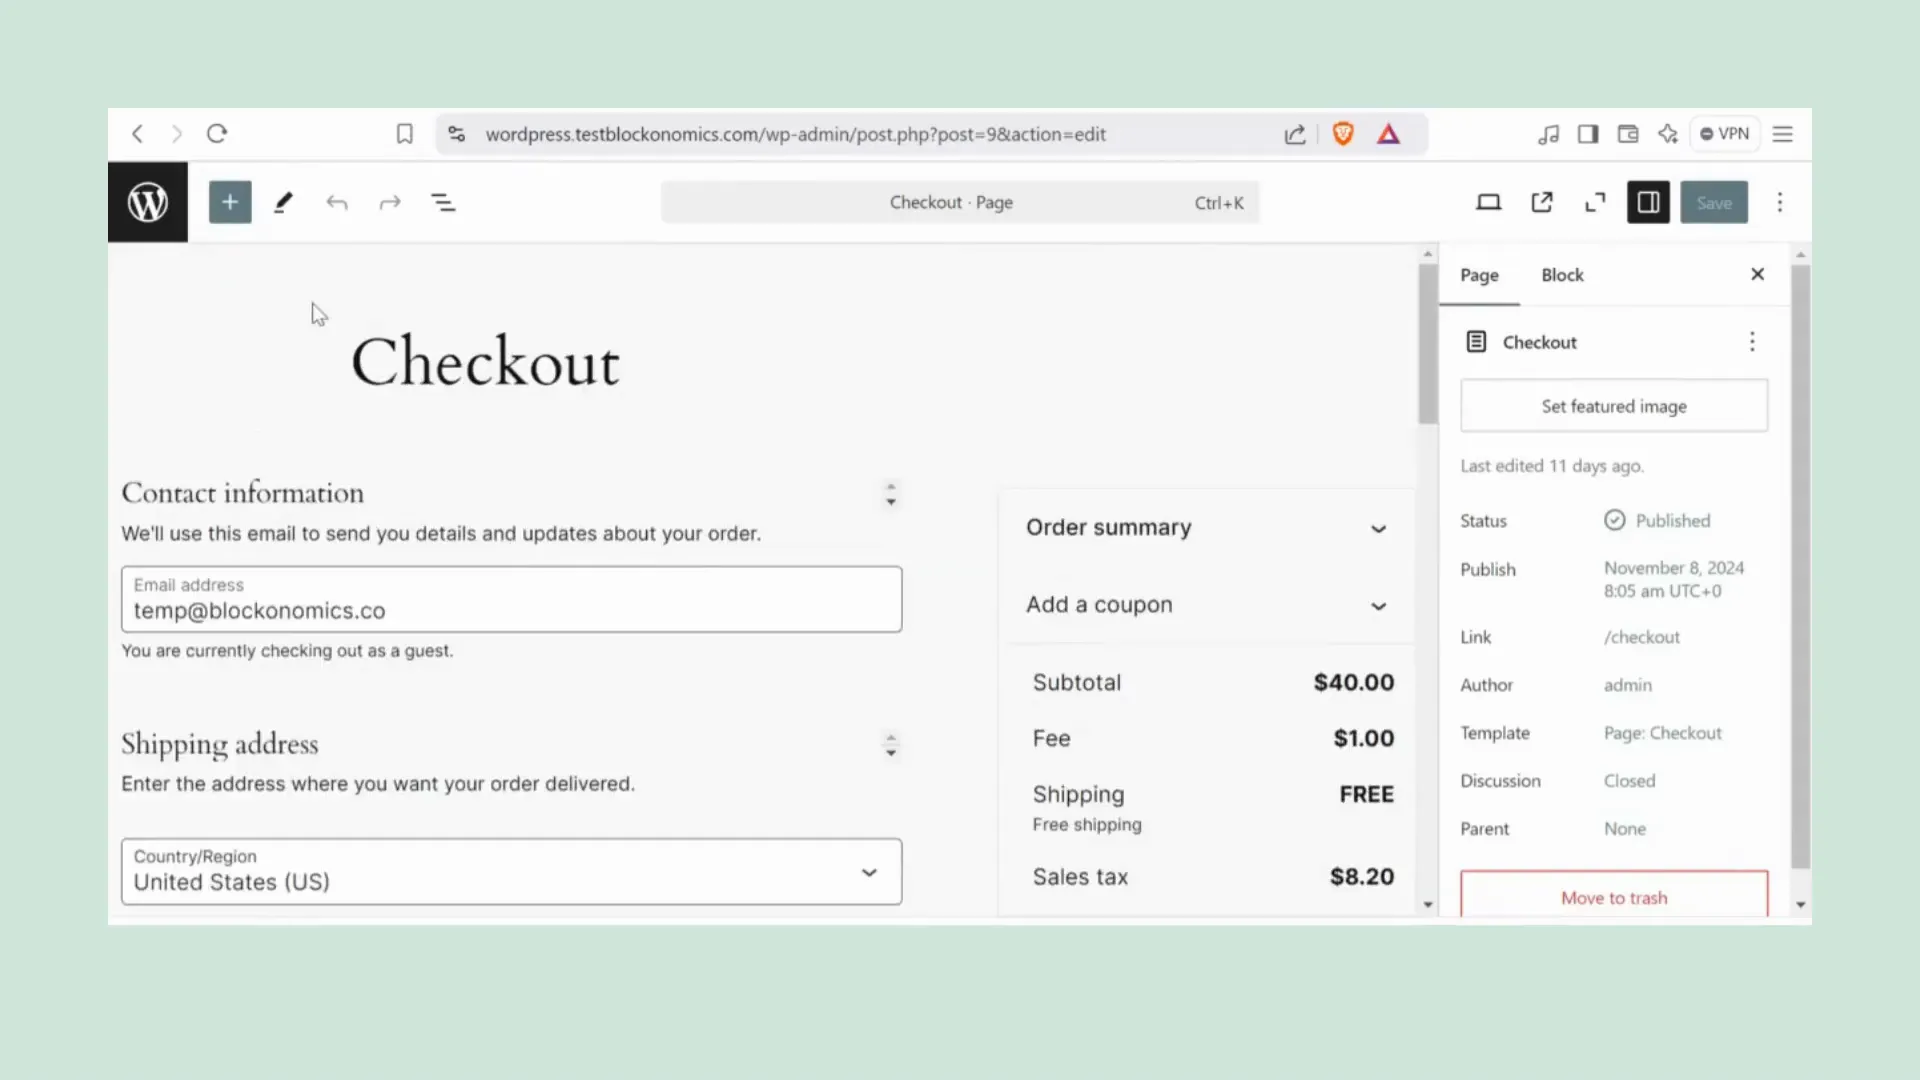
Next, let’s see how the updates reflect on your checkout page. Click on 'Pay with Bitcoin' on your live site, and you will be directed to the payment page. Here, you will see the BTC address, the amount to be sent, and a QR code for easy payment.
Performing a Test Payment
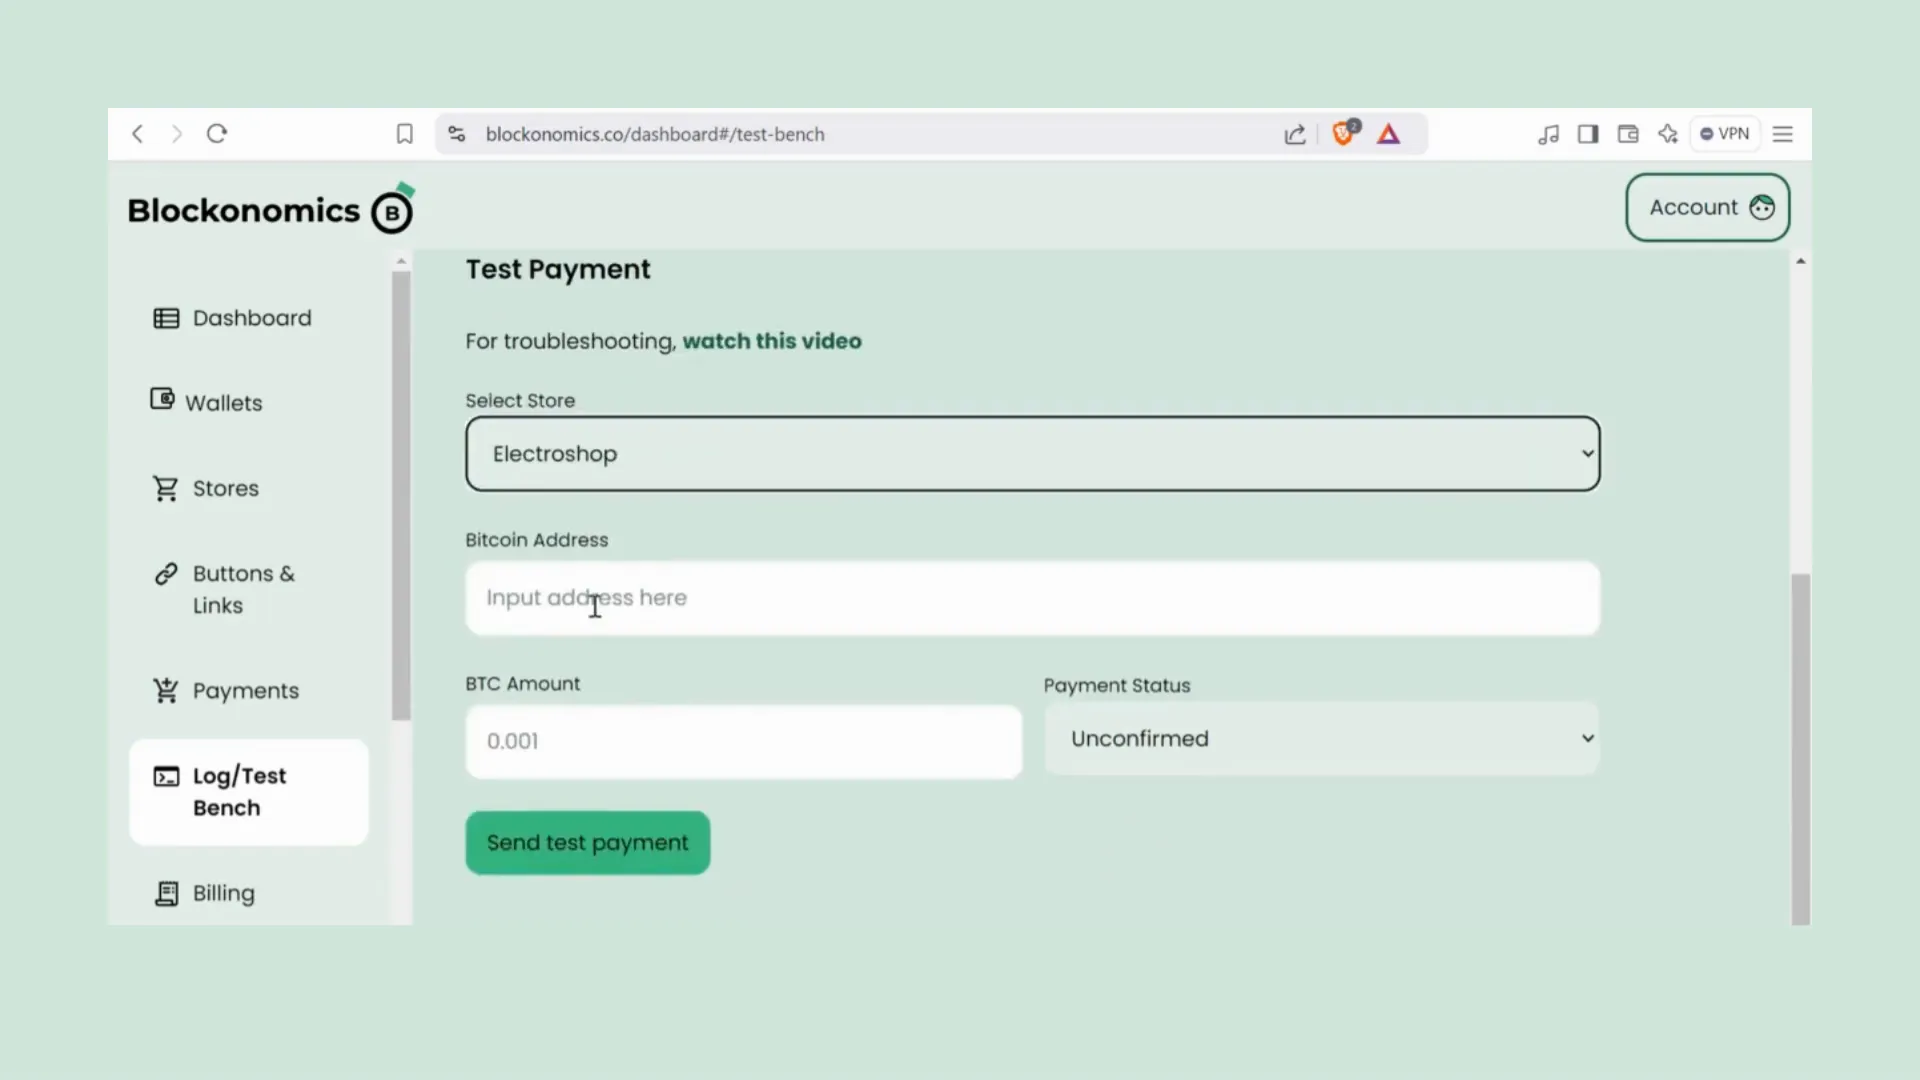
To conduct a test payment, return to your Blockonomics account and click on 'Log' or 'Test Bench'. Select your store from the dropdown menu, paste the BTC address and amount you saw on the payment page, set the payment status to 'Confirmed', and hit 'Send Test Payment'.
Order Management
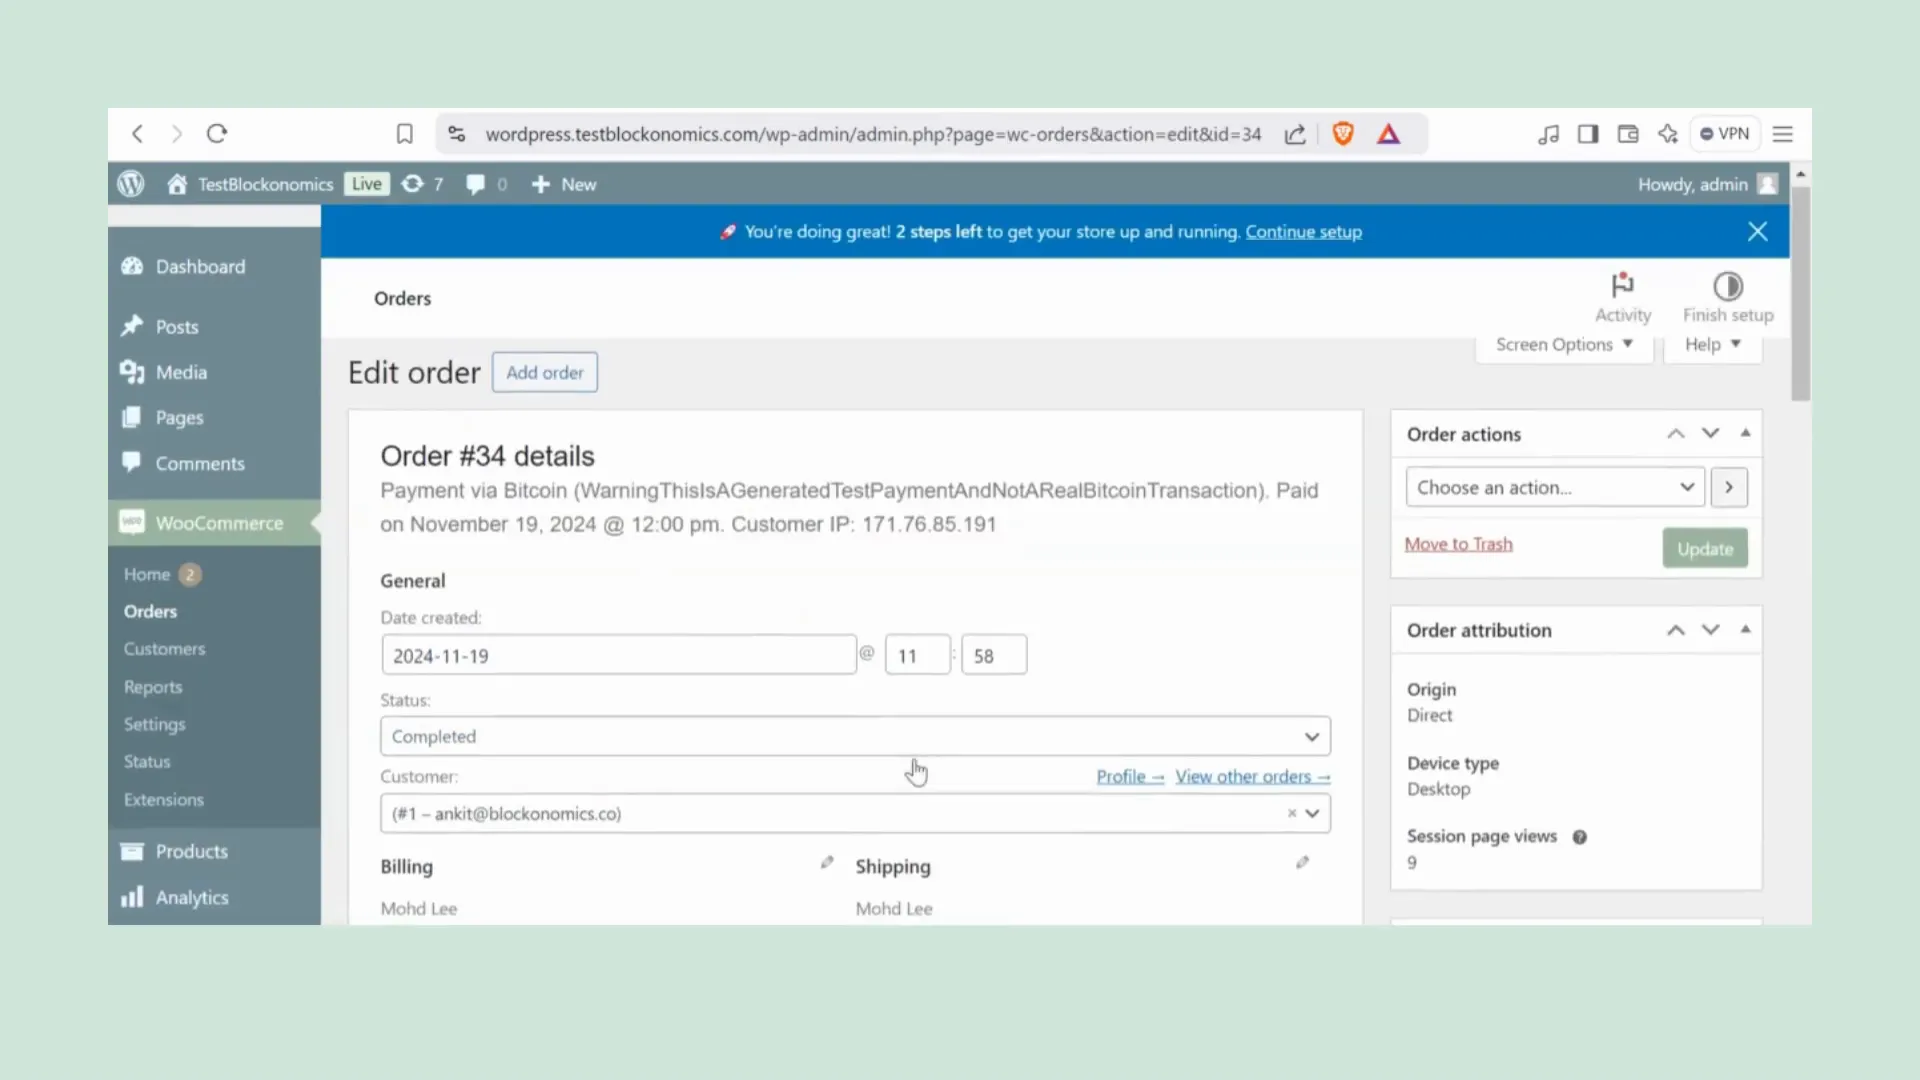
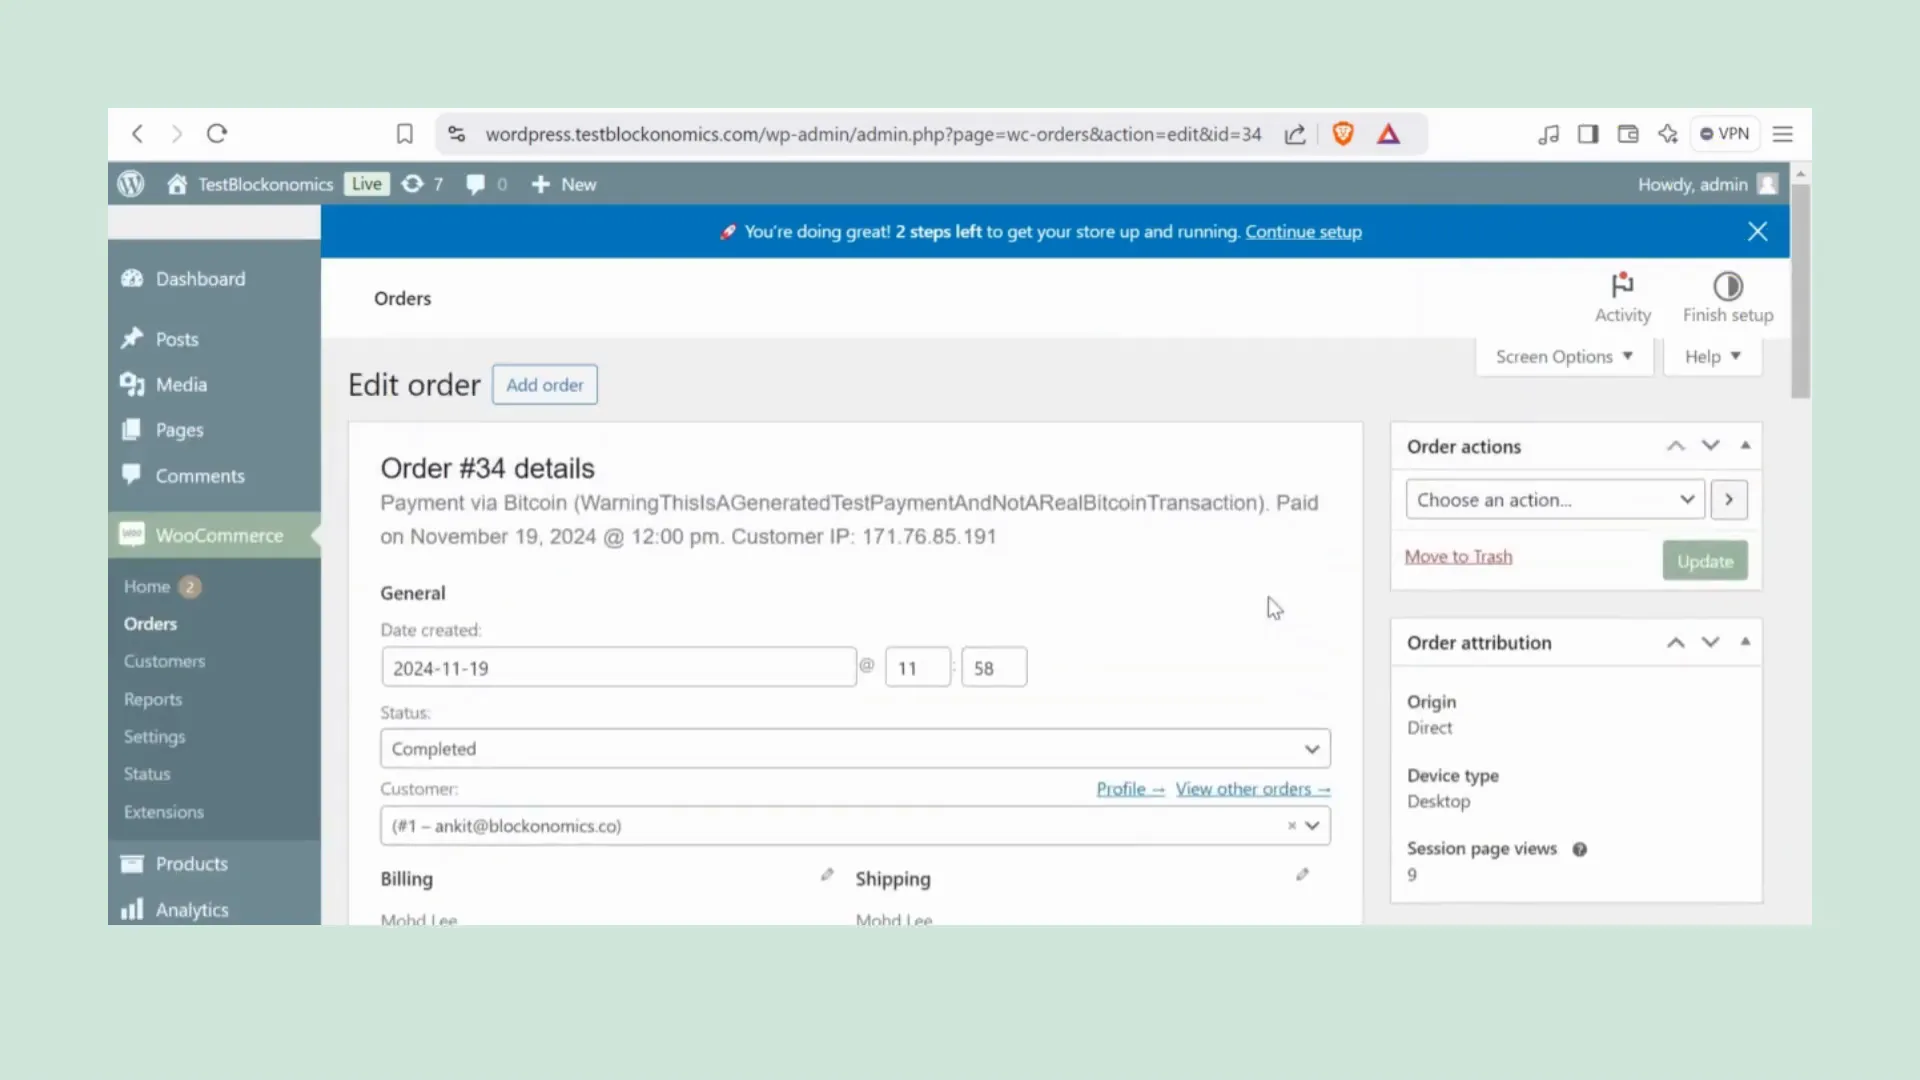
Once the test payment is successful, your customers will automatically receive their order details via email. As the site owner, you can view all orders directly in WooCommerce under the 'Orders' section. Click on any order ID to see all the details, including shipping info and product details. You can also find the Bitcoin payment details neatly logged under order notes.
Advanced Features
If you're interested in exploring advanced features like partial payments, check out the Blockonomics website or their YouTube channel for detailed guides and tutorials. This will help you maximize the functionality of your Bitcoin payment system.
FAQs
1. Is there a fee for using Blockonomics?
Blockonomics does not charge any setup fees, and transaction fees are free for the first 20 transactions and therafter a 1% fee charge.
2. Can I use multiple wallets with Blockonomics?
Yes, you can add multiple wallets to your Blockonomics account.
3. Is Blockonomics secure?
Blockonomics prioritizes security by allowing you to use your X Pub key, which does not expose sensitive information. Blockonomics also enables a direct to wallet transfer, making sure that you are still in full control of your funds.
4. What if I need help with the setup?
Blockonomics offers 24/7 support and has a comprehensive YouTube channel with tutorials to assist you through the setup process.
Conclusion
Accepting Bitcoin on your WooCommerce store is a straightforward process with Blockonomics. By following the steps outlined in this guide, you can set up Bitcoin payments in just a few minutes. Enjoy the benefits of lower transaction fees and a broader customer base while providing your customers with a modern payment option.



Comments ()